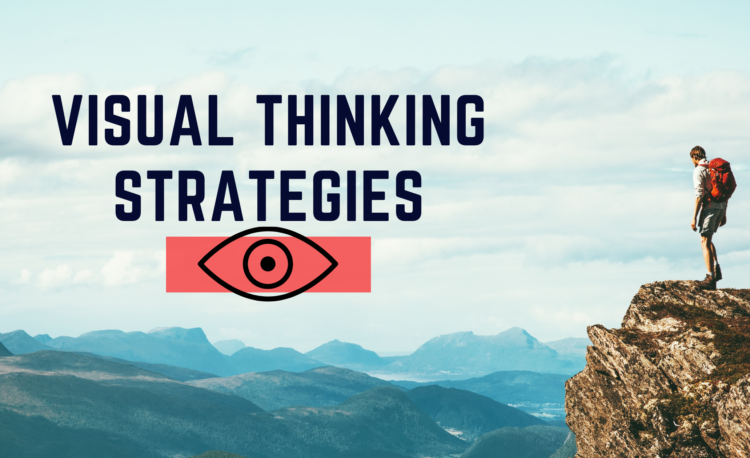

Ready to increase critical thinking and engagement in class? I found a GREAT resource that will help both of these goals called Visual Thinking Strategies. I read about these strategies first in books about medical students having class at the art museum. In Michael Blanding’s article Museum Studies, “Educators use the paintings and sculptures in nearby museums to help [medical] students to not only develop empathy and talk about their feelings but also to hone their diagnostic and communication skills and their ability to work in teams.”
All of my photographs in my lessons are from the New York Times and in particular the New York Times Learning Network page What’s Going on in this Picture? The discussions that result from this short 15 minute activity are wonderful! Students are discussing and I make sure we talk about agreeing and disagreeing with “ideas” and not the person. Students are connecting and building on each other’s thoughts. Some students really dig deep into their empathy skills to describe the feelings and emotions of the people in the photograph.
I created a Google Slideshow that I show below to tell students what the goal is for this activity and the learning target. After 1-2 activities, the kids are SO excited to get into Google Classroom and find the next photograph. I post it in Google Classroom as “Materials” so they can zoom in and out. I think it draws them in when they can interact with the photograph. Plus, they can see things in the photo with zooming in than when I have just the slideshow up. The older students use their chromebooks to research items like license plates which I thought showed great initiative and research skills.
CLICK HERE to create a copy of this Visual Thinking Strategies Slideshow.
STEP ONE: Students get 1-2 minutes to silently view the photograph. I have them jot down notes to “What’s going on in this picture?” in their notebook or on scratch paper. To help guide students, I suggest maybe thinking about who, what, where, why, when and how.
STEP TWO: For larger classes, they turn and talk about what they thought was going on in the photograph. Next, I ask for volunteers from the pairs. I point to the part of the picture they are talking about. I paraphrase what he or she said in similar words, or I will use synonyms or clarifying words that help illustrate what the student meant. I try to connect that student’s ideas to the next when possible. Paraphrasing I find SO important to help show students how to communicate and build that vocabulary. You might try with “I hear you say….” or “It sounds to me like you said….” or “I hear you say…. because…..”. You can restate using different words and those words can help clarify what the student means.
Students are encouraged to come up with “maybes” and “probably-s”. There is no wrong answer. The students can disagree and need to be taught how to disagree. I emphasize disagreeing with the idea and not the person. I offer sentence stems like “I understand why you think…., but here is why I think……” or “I agree with your idea that ……., and here is why I think…..”
STEP THREE: After the student is finished, I will ask “What in the photo makes you say that?” The student tells us what he or she saw in the photograph to back up their claim. The student will tell us how the inference was created. You can use various ways to do this depending on the age of the students. Sometimes they include this in their first answer.
STEP FOUR: Finally, to go to the next student I ask “What else can we find?” Just like a medical doctor trying to make a diagnosis or a crime scene detective looking for clues, the next student finds more in the photograph. Or, the next student may find something that agrees or disagrees with a previous idea.
At the end, I do share the reveal. We discuss many successes and celebrate what the students figured out all on their own.
STEP FIVE: A new piece I added was to have them mark where in the world that we are. I find the area on Google Earth and show where we are in reference to where the photograph was taken. Students use a marker to highlight the place on earth that we found each week. Eventually they will have a map full of places that we have “visited”!
Here is the World Map that I printed for each student.
It may or may not go well the first time around, but the students learn REALLY fast how to do this and get better and better each time around. Keep it up! You will be AMAZING!