Equations Without the Equal Sign

All puzzles are linked in this post!  Don’t worry they are all not showing – I share.   I promise!

I know the photos are terrible – go see my other website … I can do better 🙂


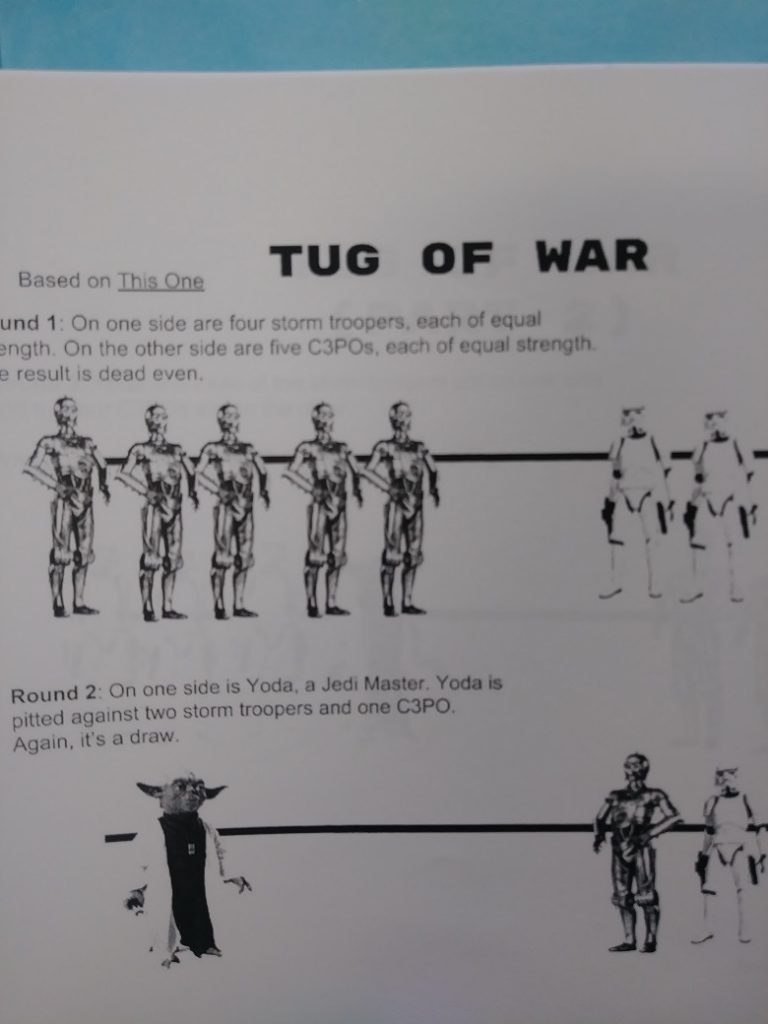
My students had some AMAZING conversations over these puzzles yesterday!  After our warm-up (the 24 game is popular now), I gave them the Star Wars problem first.  It is simpler, more straight forward, and many students intuitively figure out the answer to Round 3….  but must explain their thinking.  That part takes 10 minutes or more.  They must work on their own at first and then explain to their partner how they arrived (or tried to arrive) at an answer.

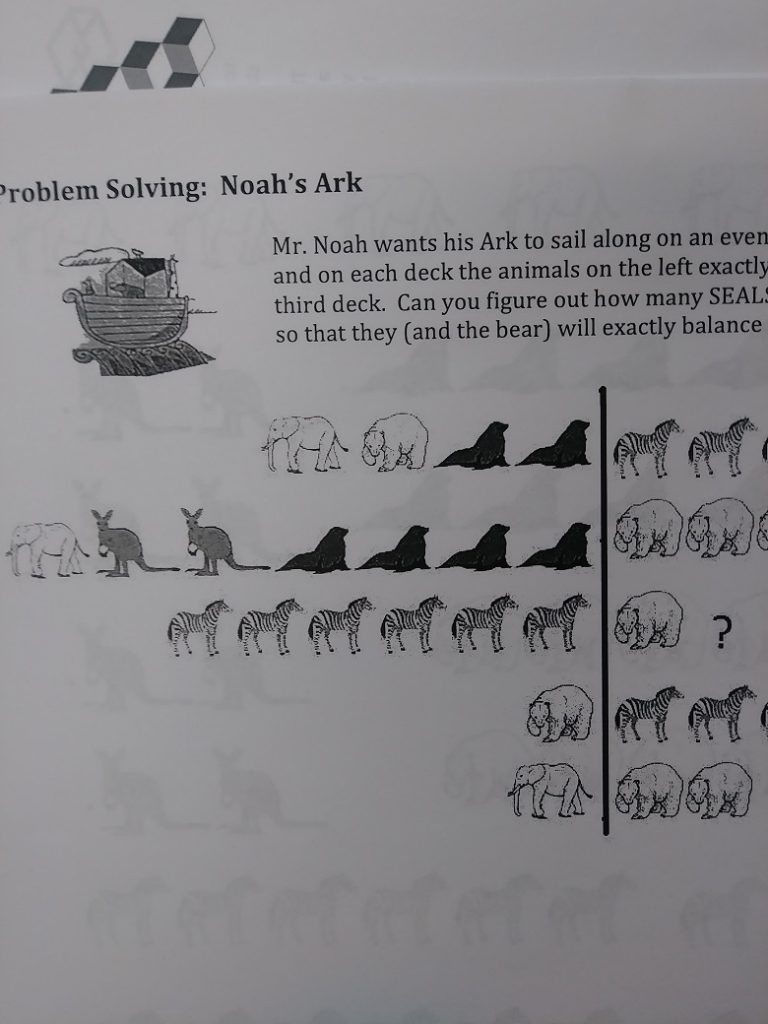
The second problem I introduced was Fawn Nguyen’s Noah’s Ark problem.  They had even better conversations with this problem.  First, we read the problem on our own for a few minutes.  Maybe make some predictions or choose some strategy.  Then, we work with a partner to solve it.  This problem took much longer of course and students had two different answers at the end.  Most of them took the old fashioned route of using the information at the bottom of the paper and worked their way up.  After solving it in groups, we took to the board and started out with: what do we know for sure?  Which then leads us to 1 elephant = 2 bears, 1 bear = 3 zebras and therefore 1 elephant = 6 zebras.  Then move higher up the chain to work with the kangaroos and seals.

I gave them pictures of the animals to cut out and use… but none of them did.  It is always interesting to see what students will use.  I know ours use white boards a lot in the younger grades and that is what they are familiar with and is easy.  For me instead of creating a set of equations (1E=2B etc.), I found it easier to convert the animals to pounds.  The lowest number that has a lot of factors I could use is 12.  So I made the elephant 12 pounds and made my deductions from there.  So, the bears are 6 pounds each, etc.

What is an equation?
What are some strategies we can use to solve this problem?
Explain why you think the answer is ____ seals.
• How else could you have …?
• How are these _____________
the same?
• How are these different?
• What would you do if …?
• What would happen if …?
• What else could you have done?
• If I do this, what will happen?
• Is there any other way you could …?
• Why did you …?
• How did you …?

Gifted Educator Links

Gifted Education Links for Teachers and Parents

Differentiation

Educational Products I Use in the Classroom:

24 Game – This is a great warm up that can be used virtual or in person.  Using any of the 4 math operations, including parentheses, creating an equation that will equal 24.

Teaches:  Divergent thinking, mathematical flexibility, there is more than one answer (most of the time), Flexibility


Challenge Math – These books introduce WAYS of thinking and not just how to solve one type of problem.  The problems go from easy to hard.

Teaches:  mathematical and logical thinking


Visual Thinking Strategies – Of course my favorite

Triangles and Photography

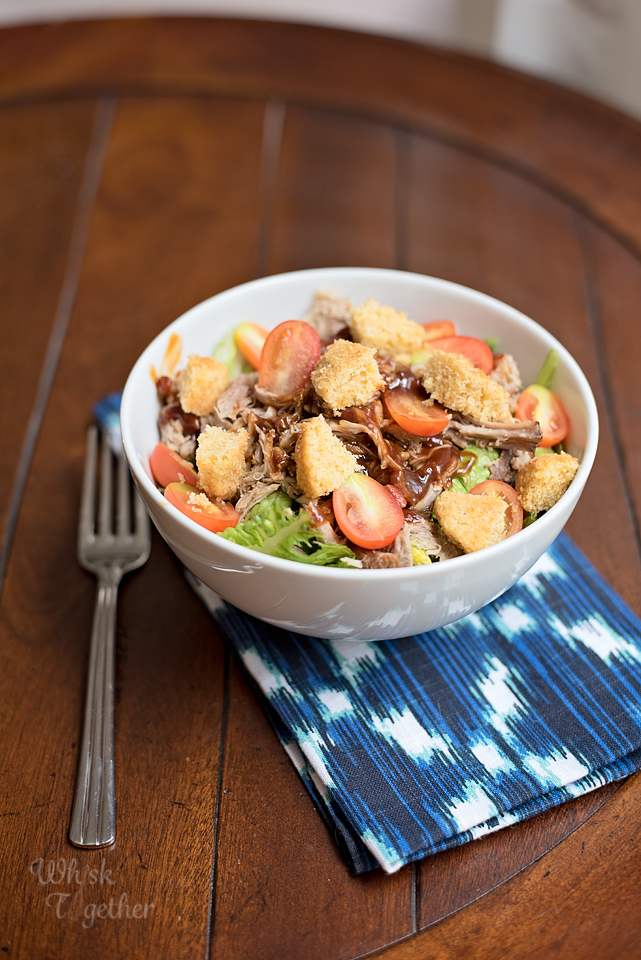
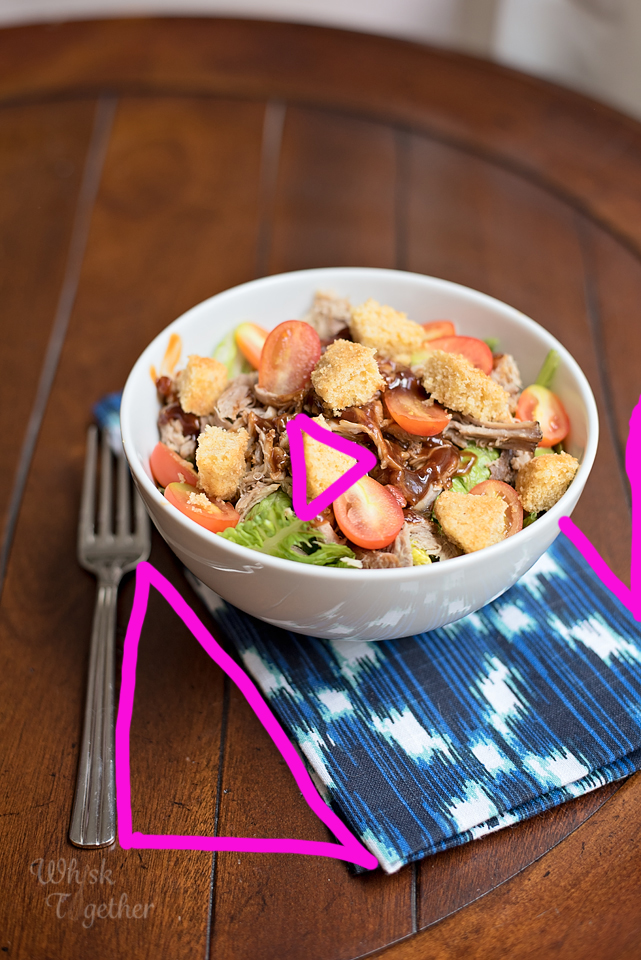
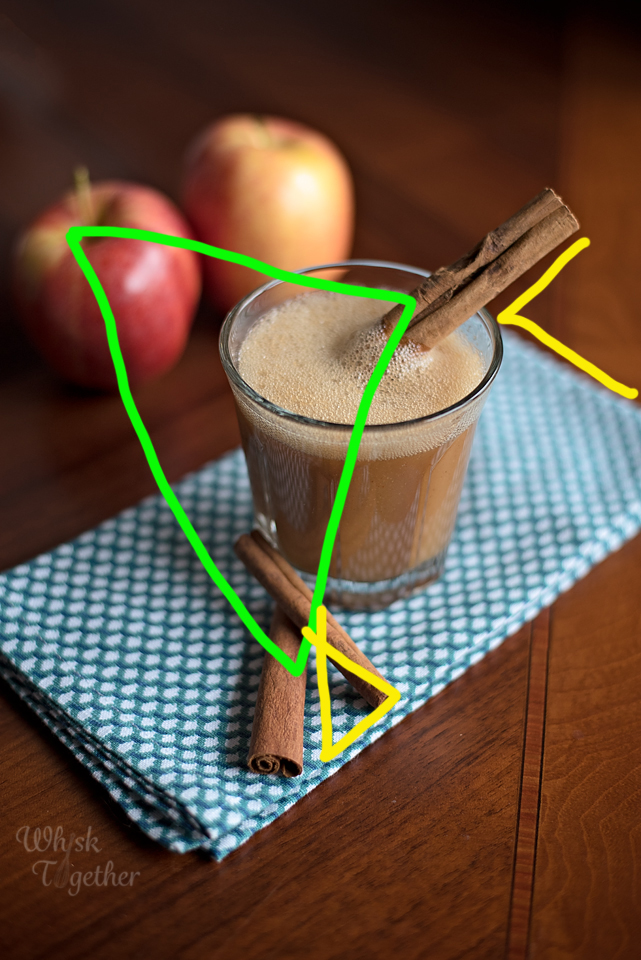
During our last unit, students categorized different triangles and calculated supplementary angles.  Everyone in 6th grade knew what a triangle was, but they probably see triangles much more often than they realize.  In photography (and theater… and art…) triangles are used ALL of the time.  Straight lines are visually boring.  If you have ever been in a musical theater chorus or play, you have probably heard your director scream, “You’re in a line!”.  Which is fine for “A Chorus Line”… but not great for most plays and musicals.

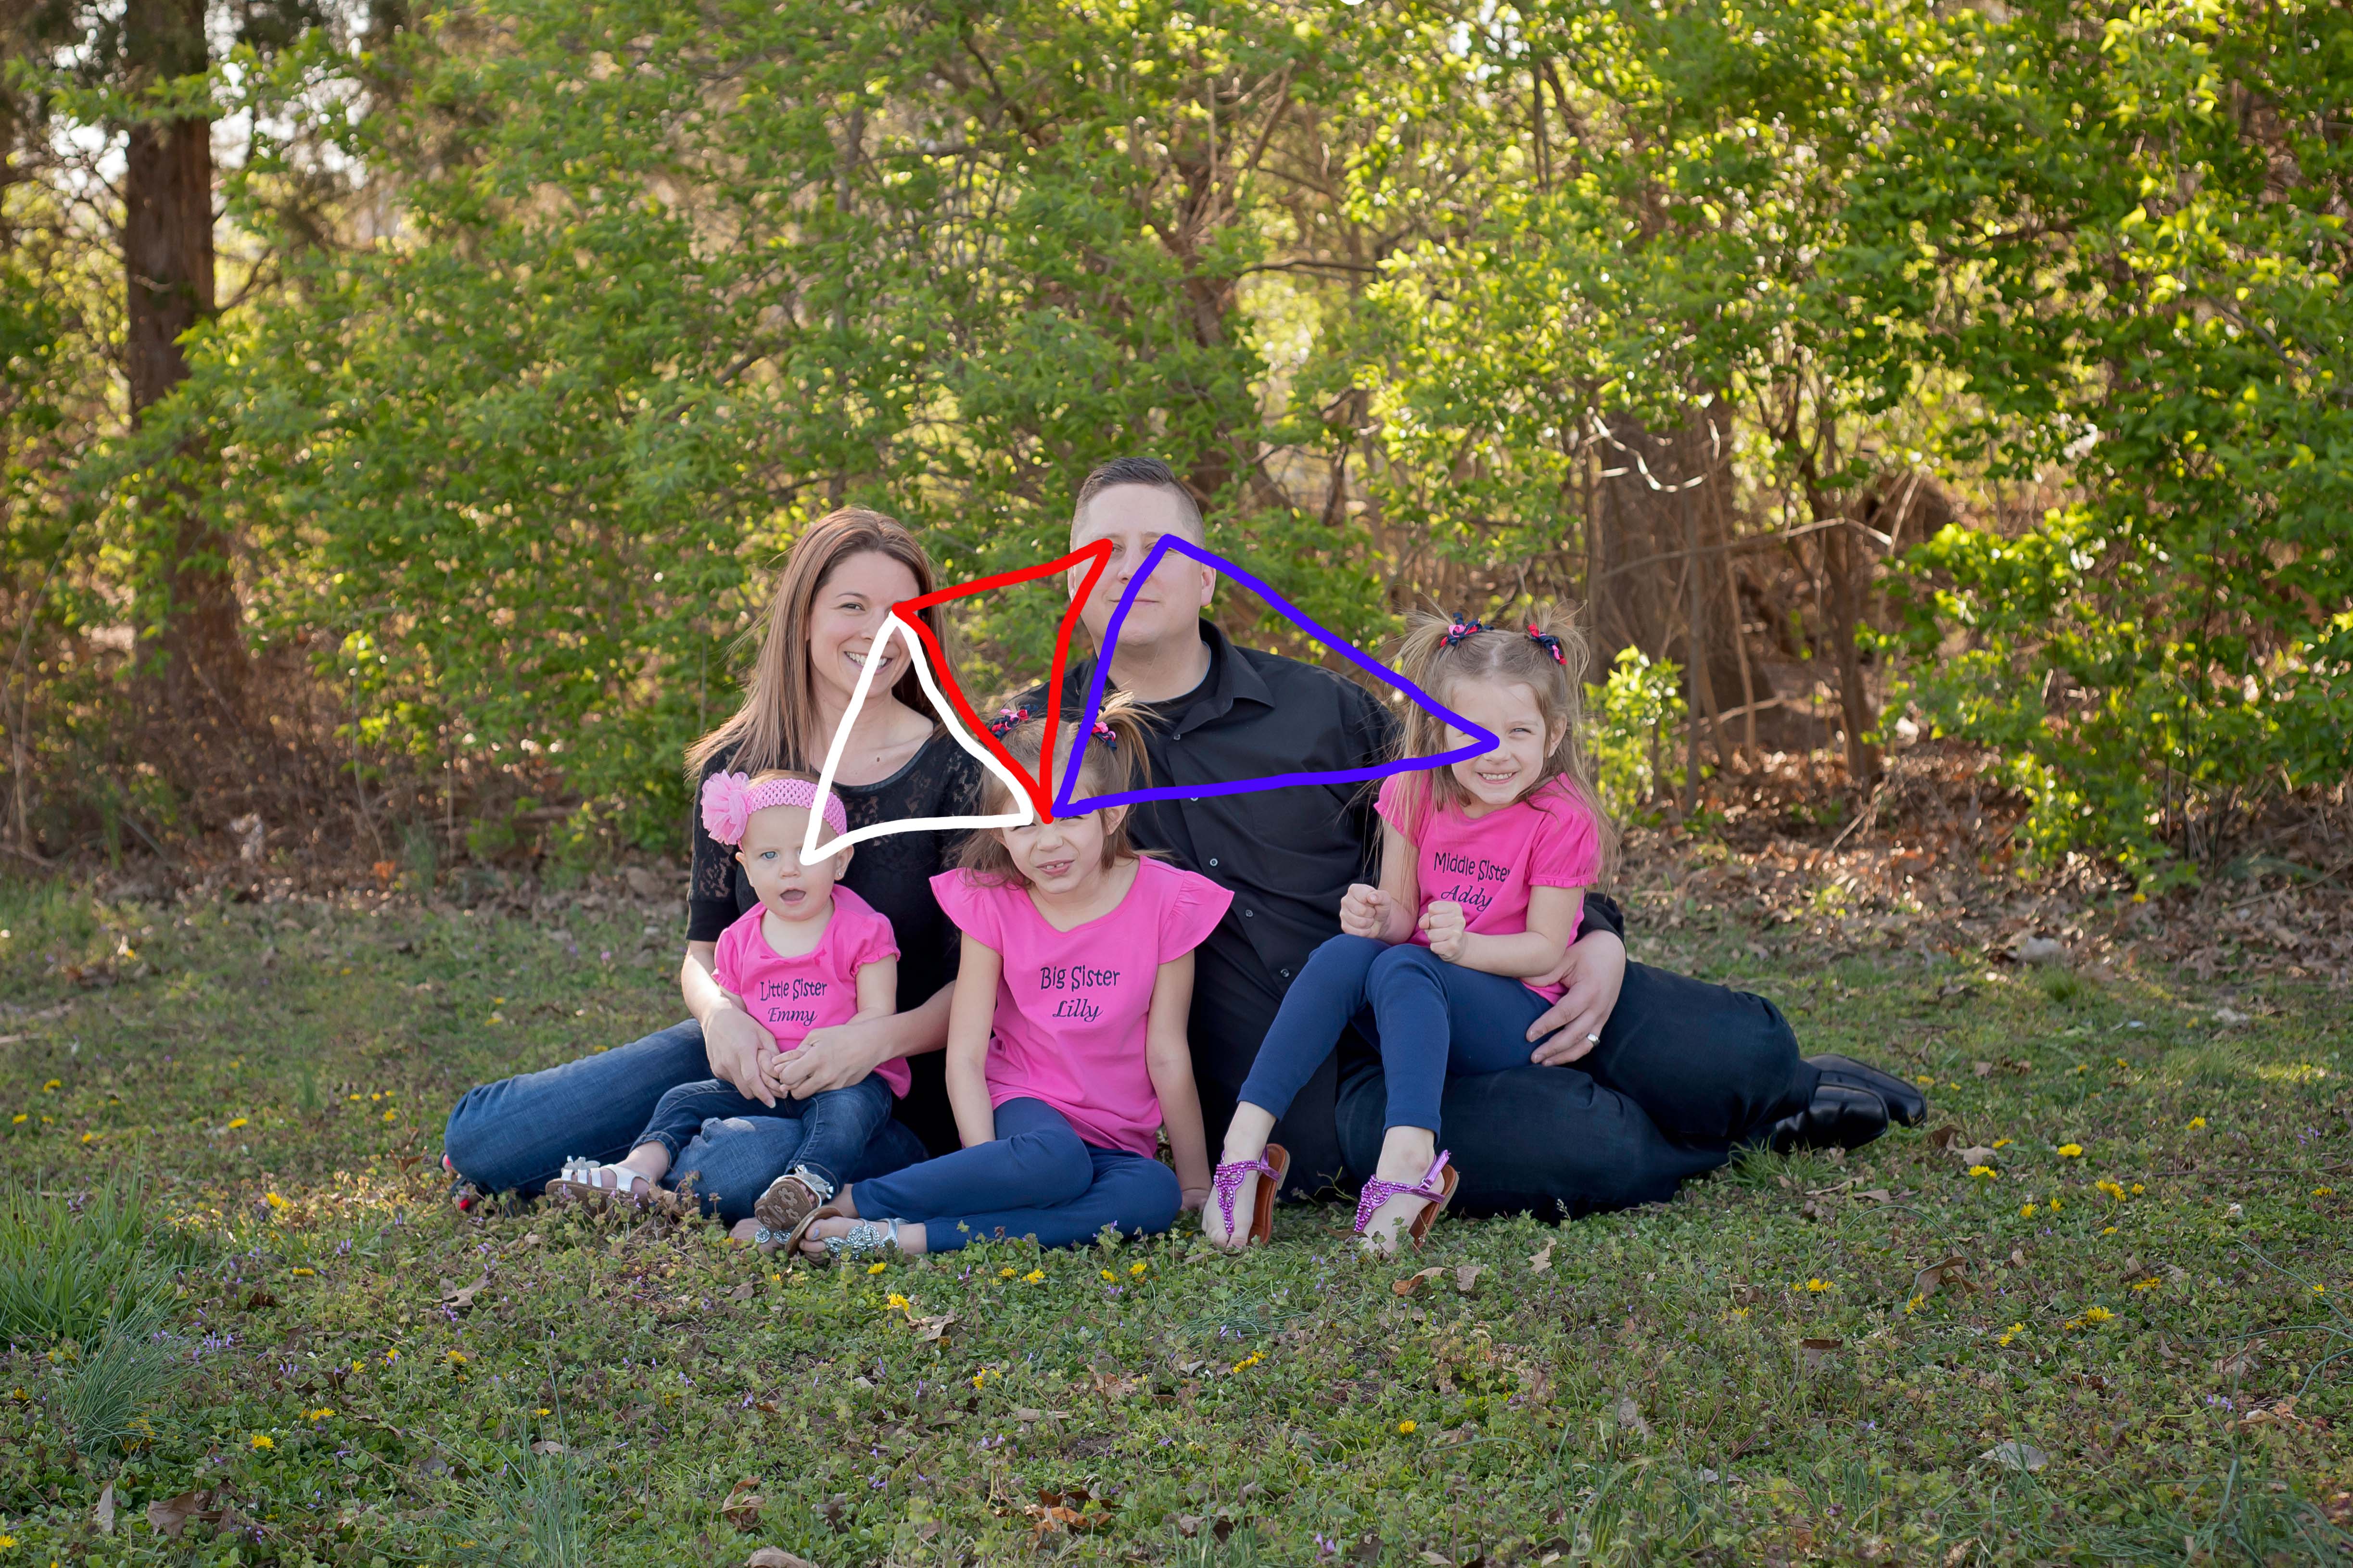
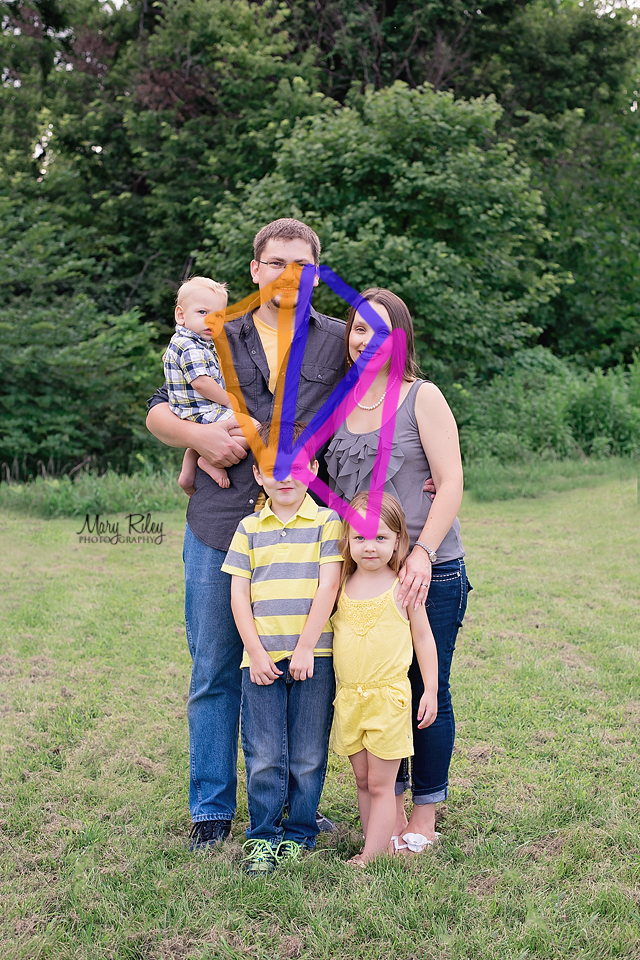
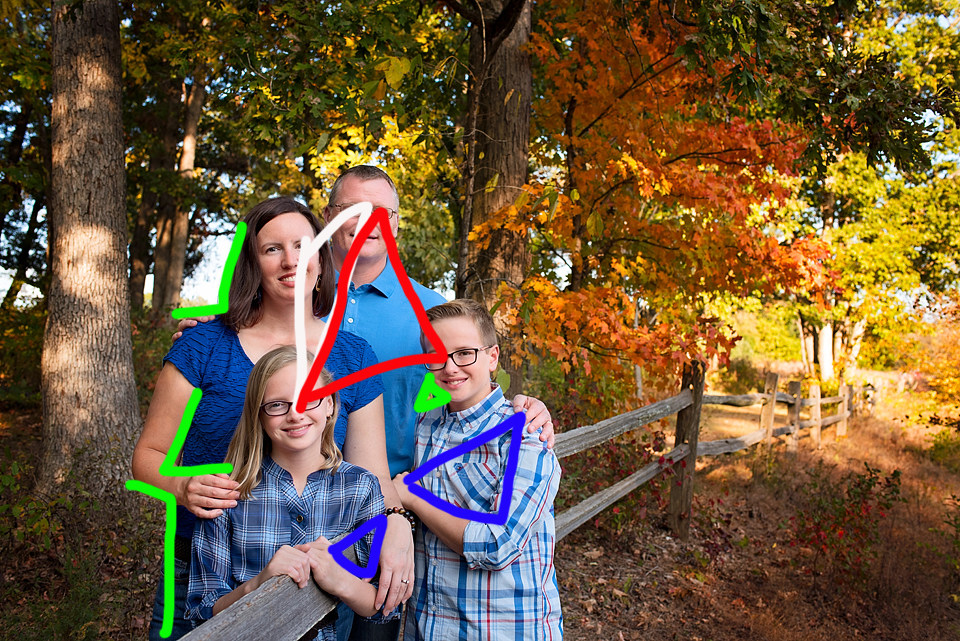
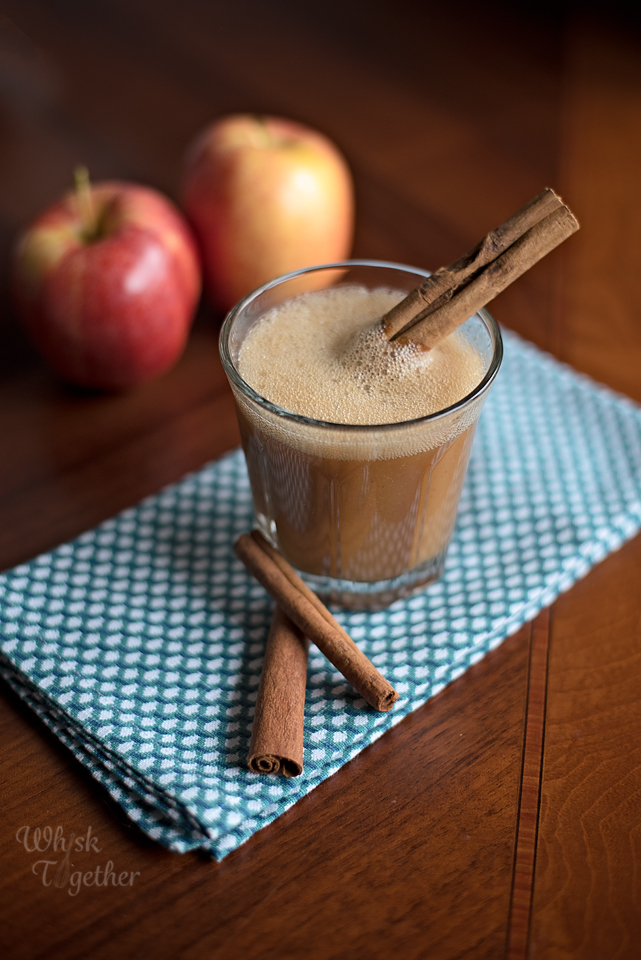
Every student has had their photo taken and probably had a family photo taken at some point in their lives.  I pulled some of my photos from the past 2 years and had students look at them.  Really look at them.  And see if they could find the triangles.  I did this on the Smart board, but you could post them in Google Classroom as well.

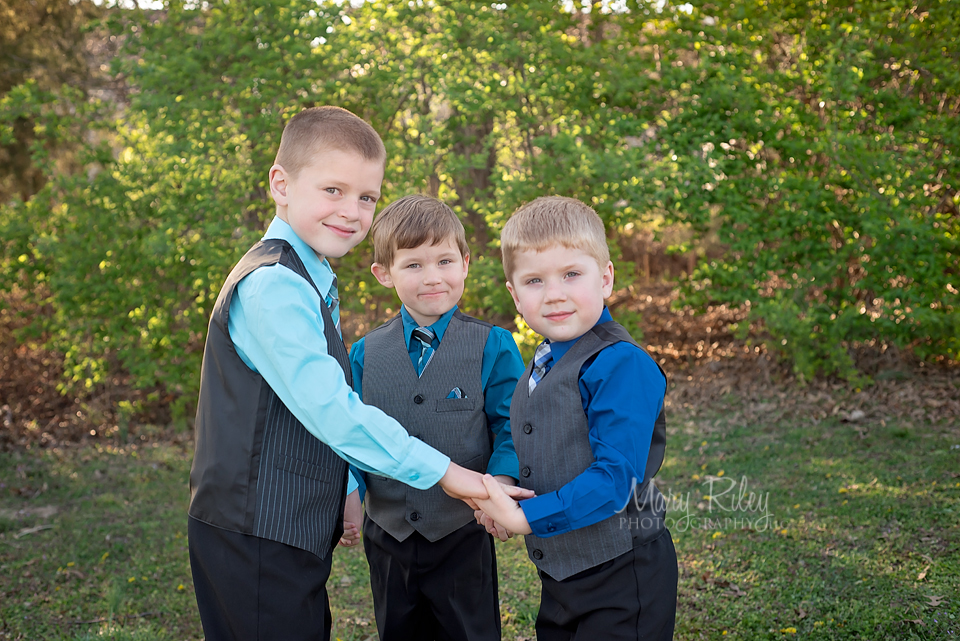
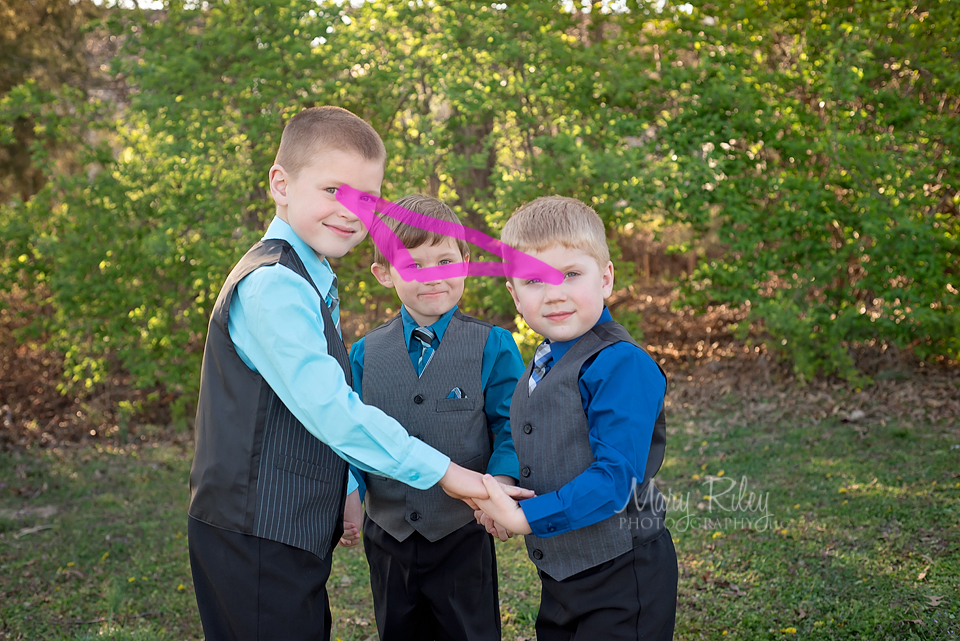
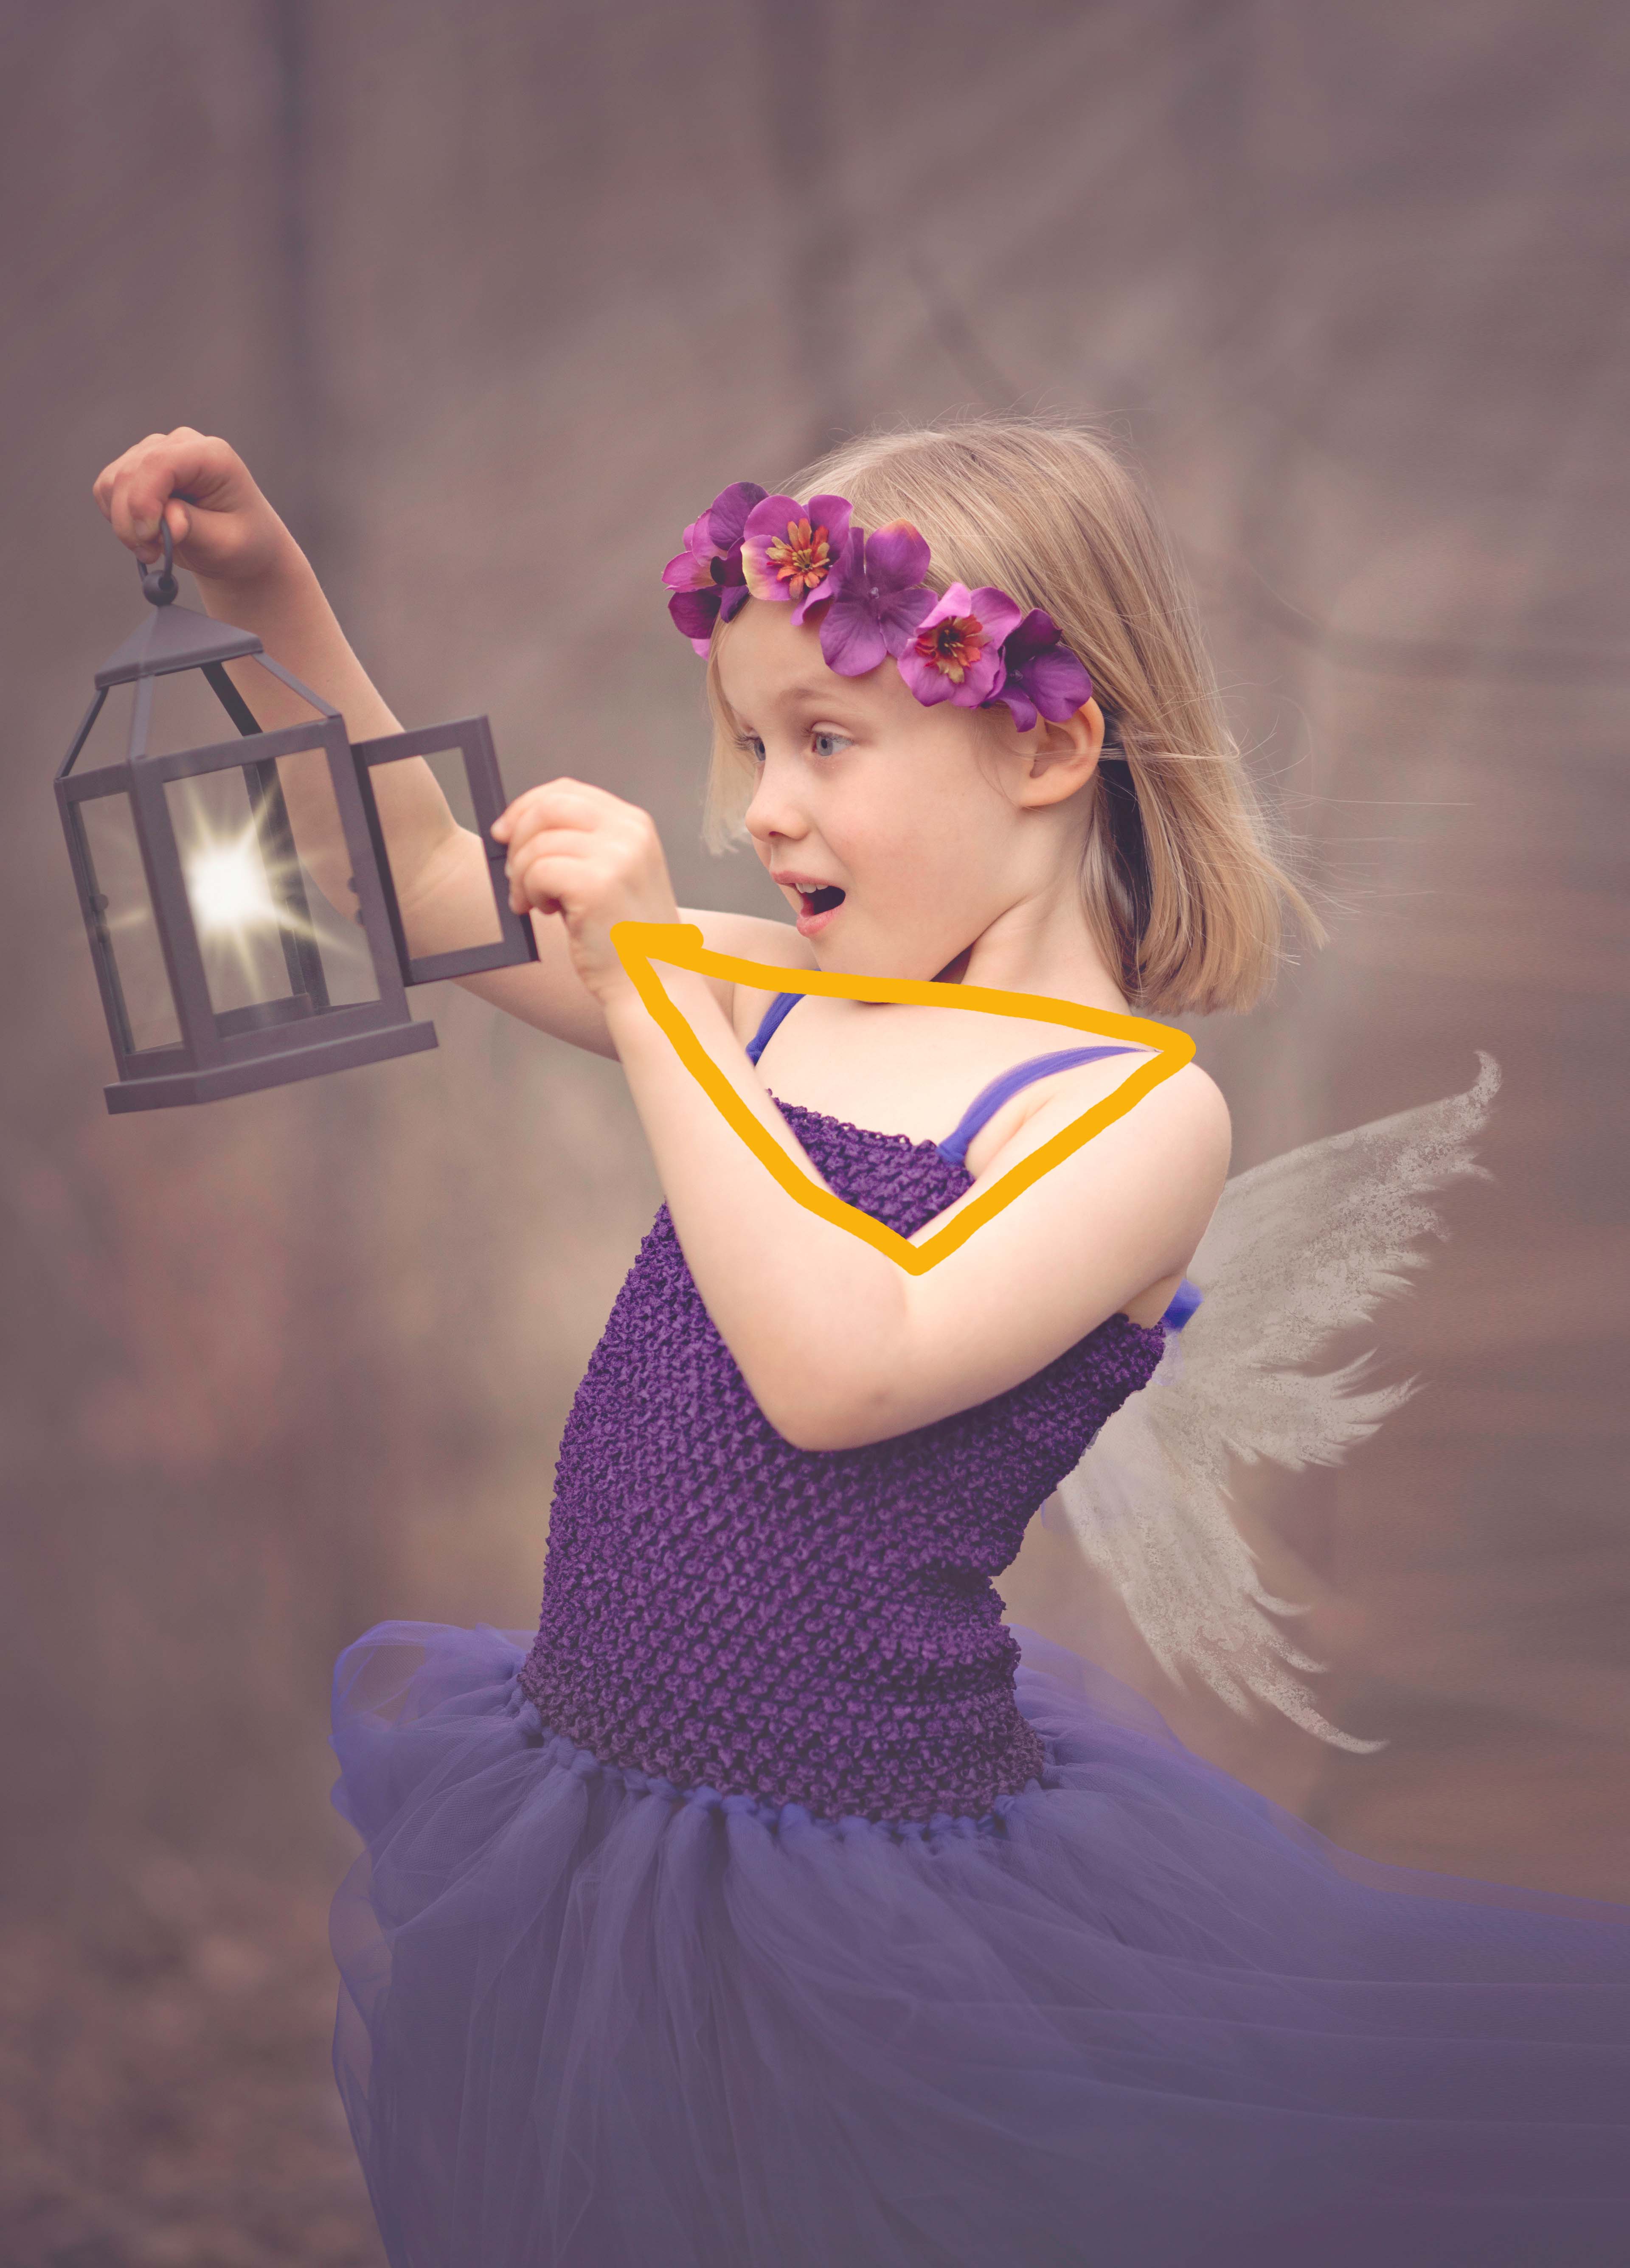
Second, after receiving feedback on some of the photos, I asked the students what they thought the most important part of a a portrait is.  Eventually one student says “the eyes.”  From there, we could make many MORE triangles and using the eyes as our vertices create many important triangles that lay the foundation for much of portrait photography.

I have included the originals and drew triangles on the second set.  I used my tablet to save time which is why the lines are not perfectly straight…. but you and the students will get the idea!

Here is the Link to Folder of All Photographs


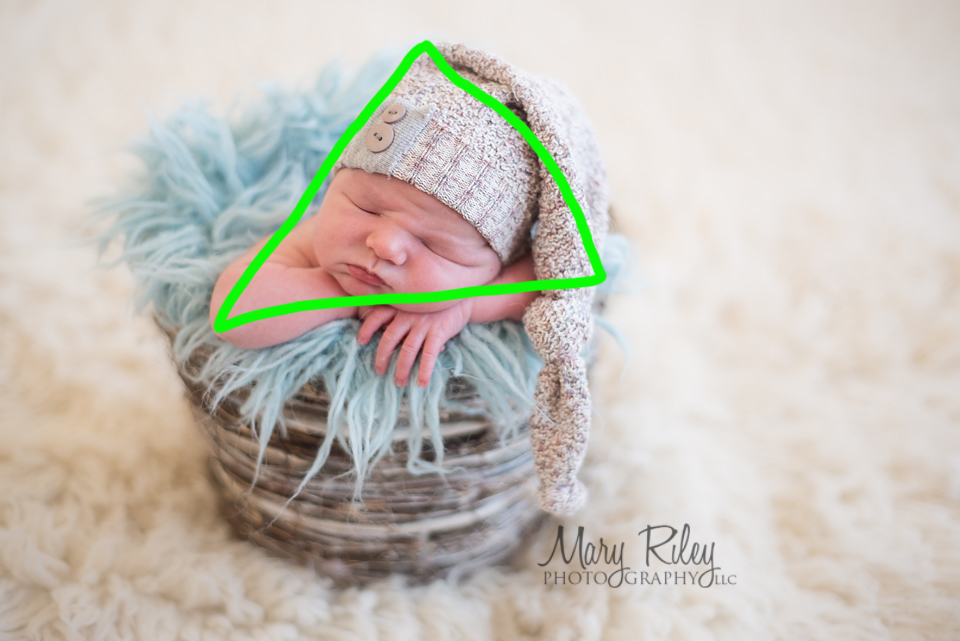
I didn’t draw triangles on the one below because it is pretty obvious 🙂


Link to Folder of All Photographs

Note:  All photographs are subject to copyright.

Pi Day 2018

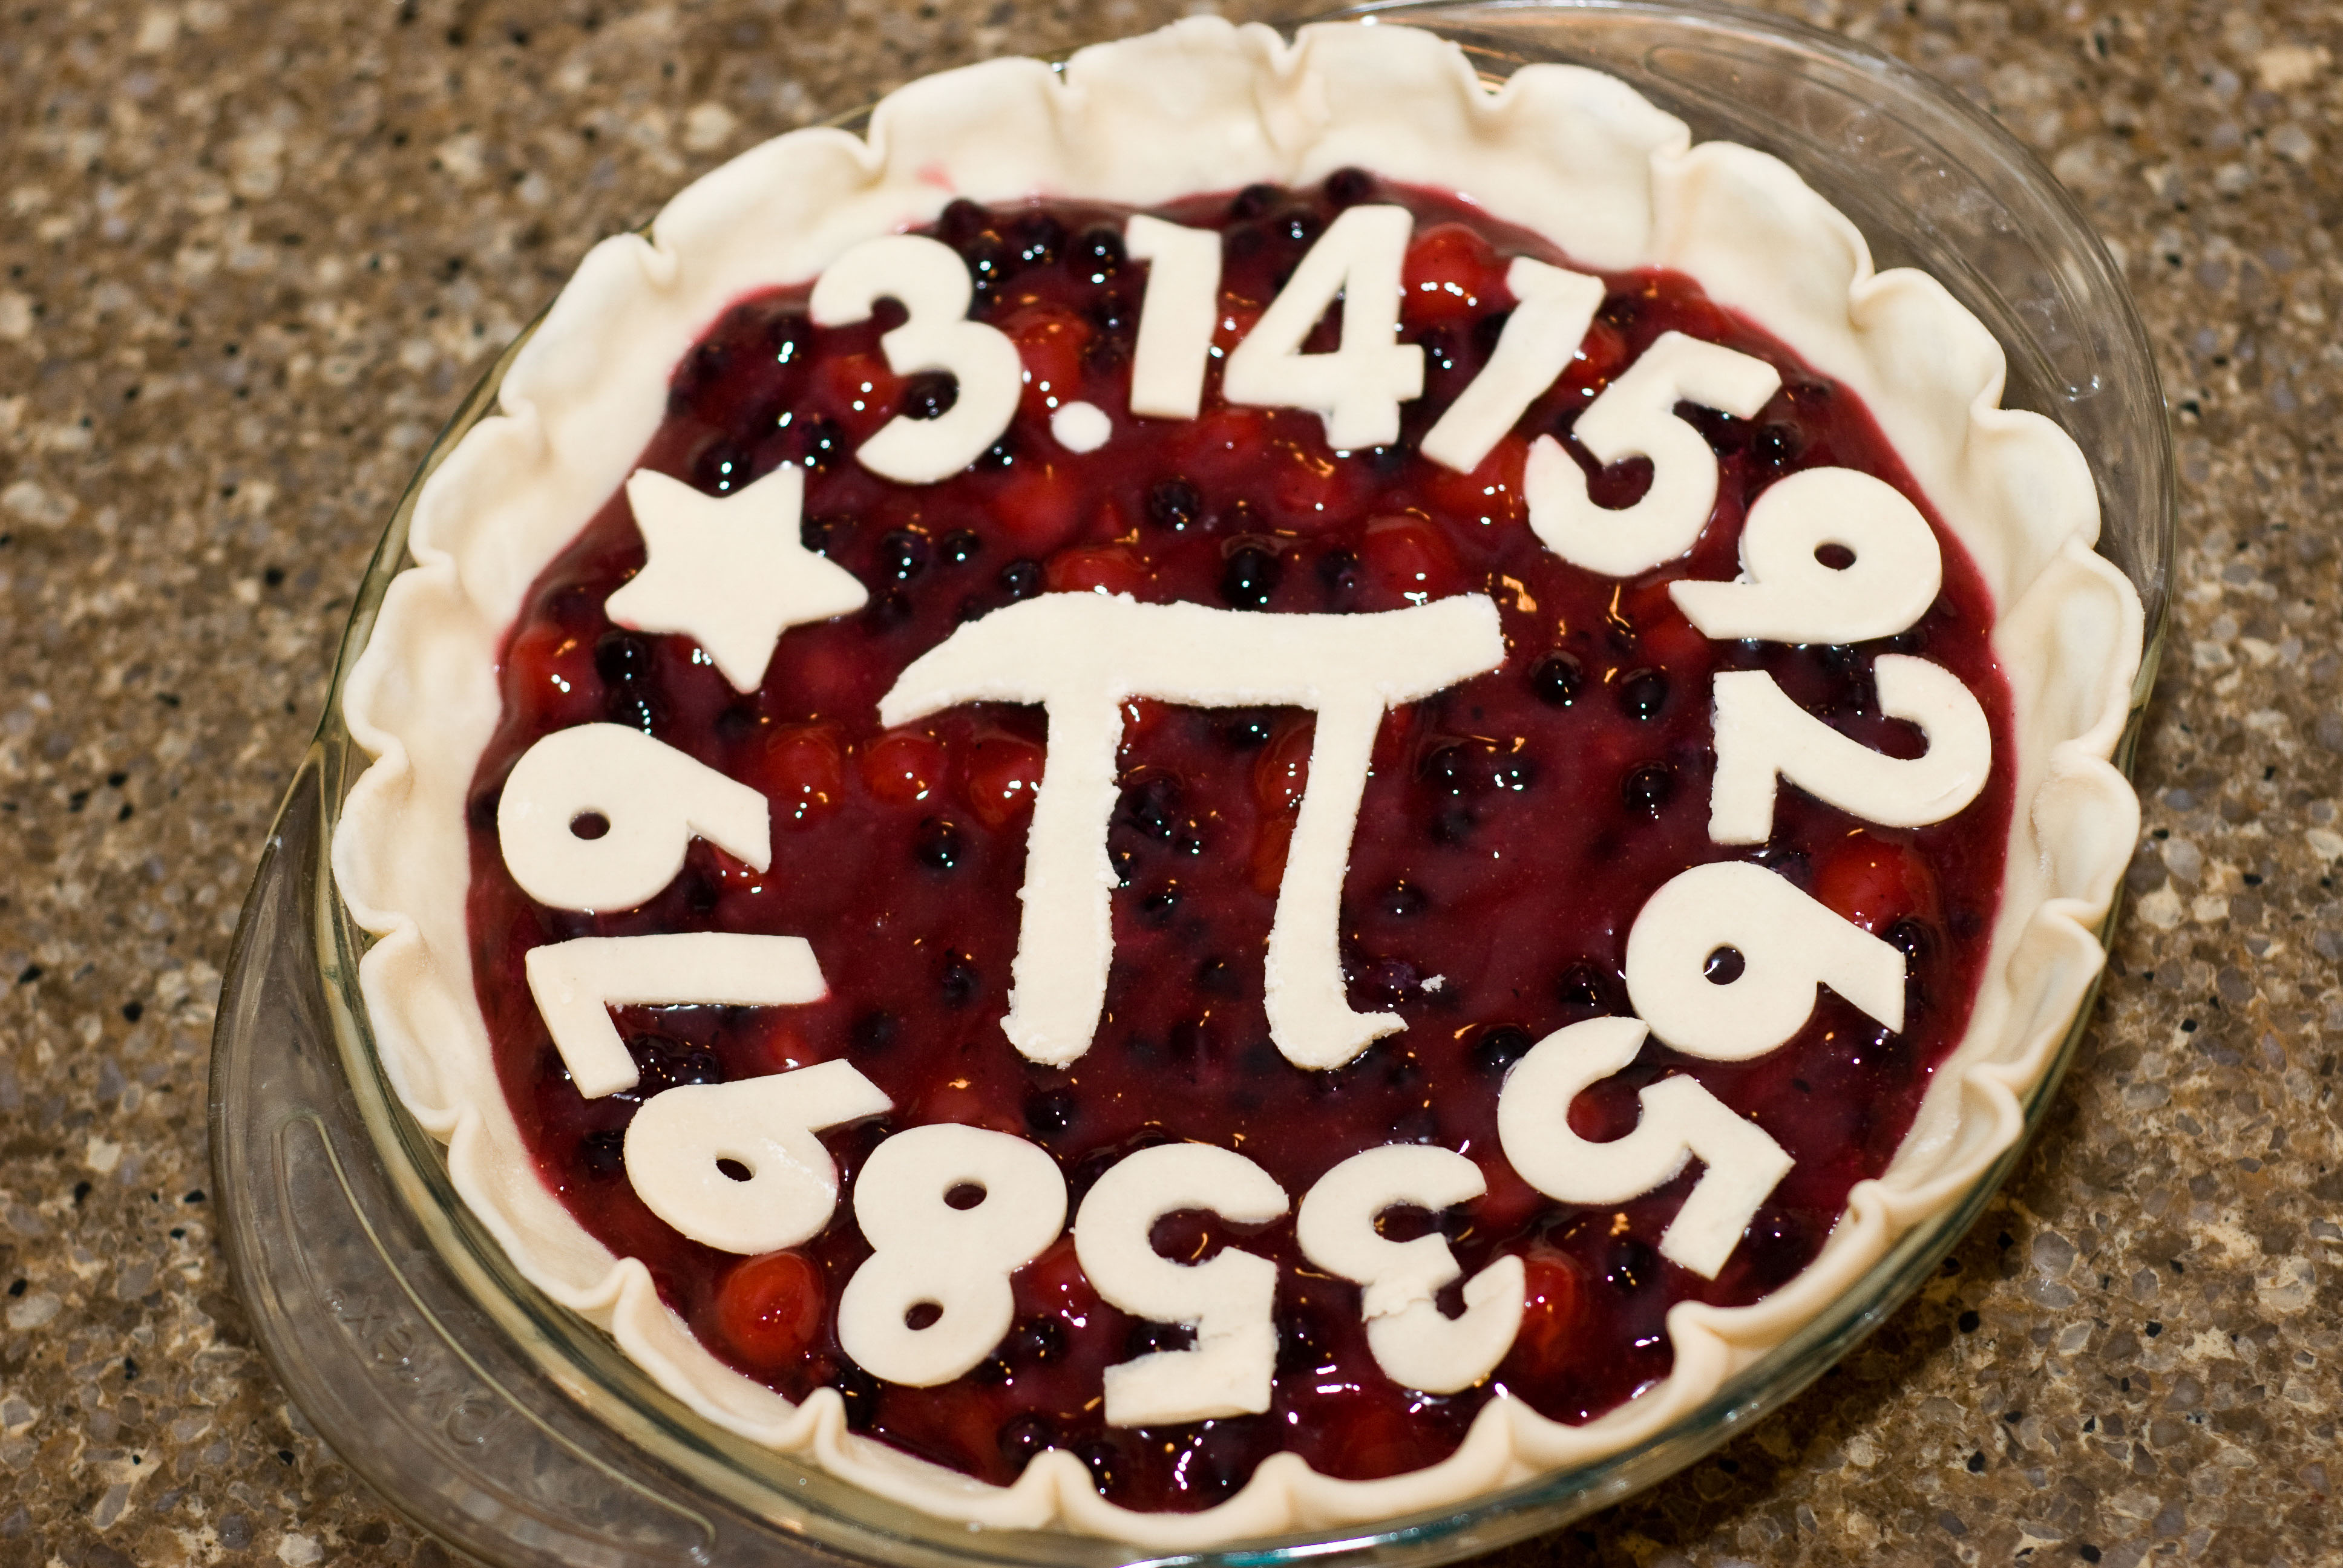
Happy Pi Day!!!  So this was my FIRST Pi day with students as in past years we were usually on Spring Break.  But I can tell you it was EPIC!!  I hope this will inspire you to plan your own Pi Day!
If you want to get kids excited, you need engagement.  I ran Pi Day two different ways at two different schools.  Here are all of the details and resources!
Two Months before Pi Day, the math teacher and I announced our first annual “Pi Bee”.  The person to memorize and recite the most digits of Pi accurately would win a prize.
One Month before Pi Day, I asked local pizza places for donations for the big event.  Mod Pizza in Wentzville donated $25 in gift cards for the winners.

I confirmed where we could hold the pi day in the school building and the time.
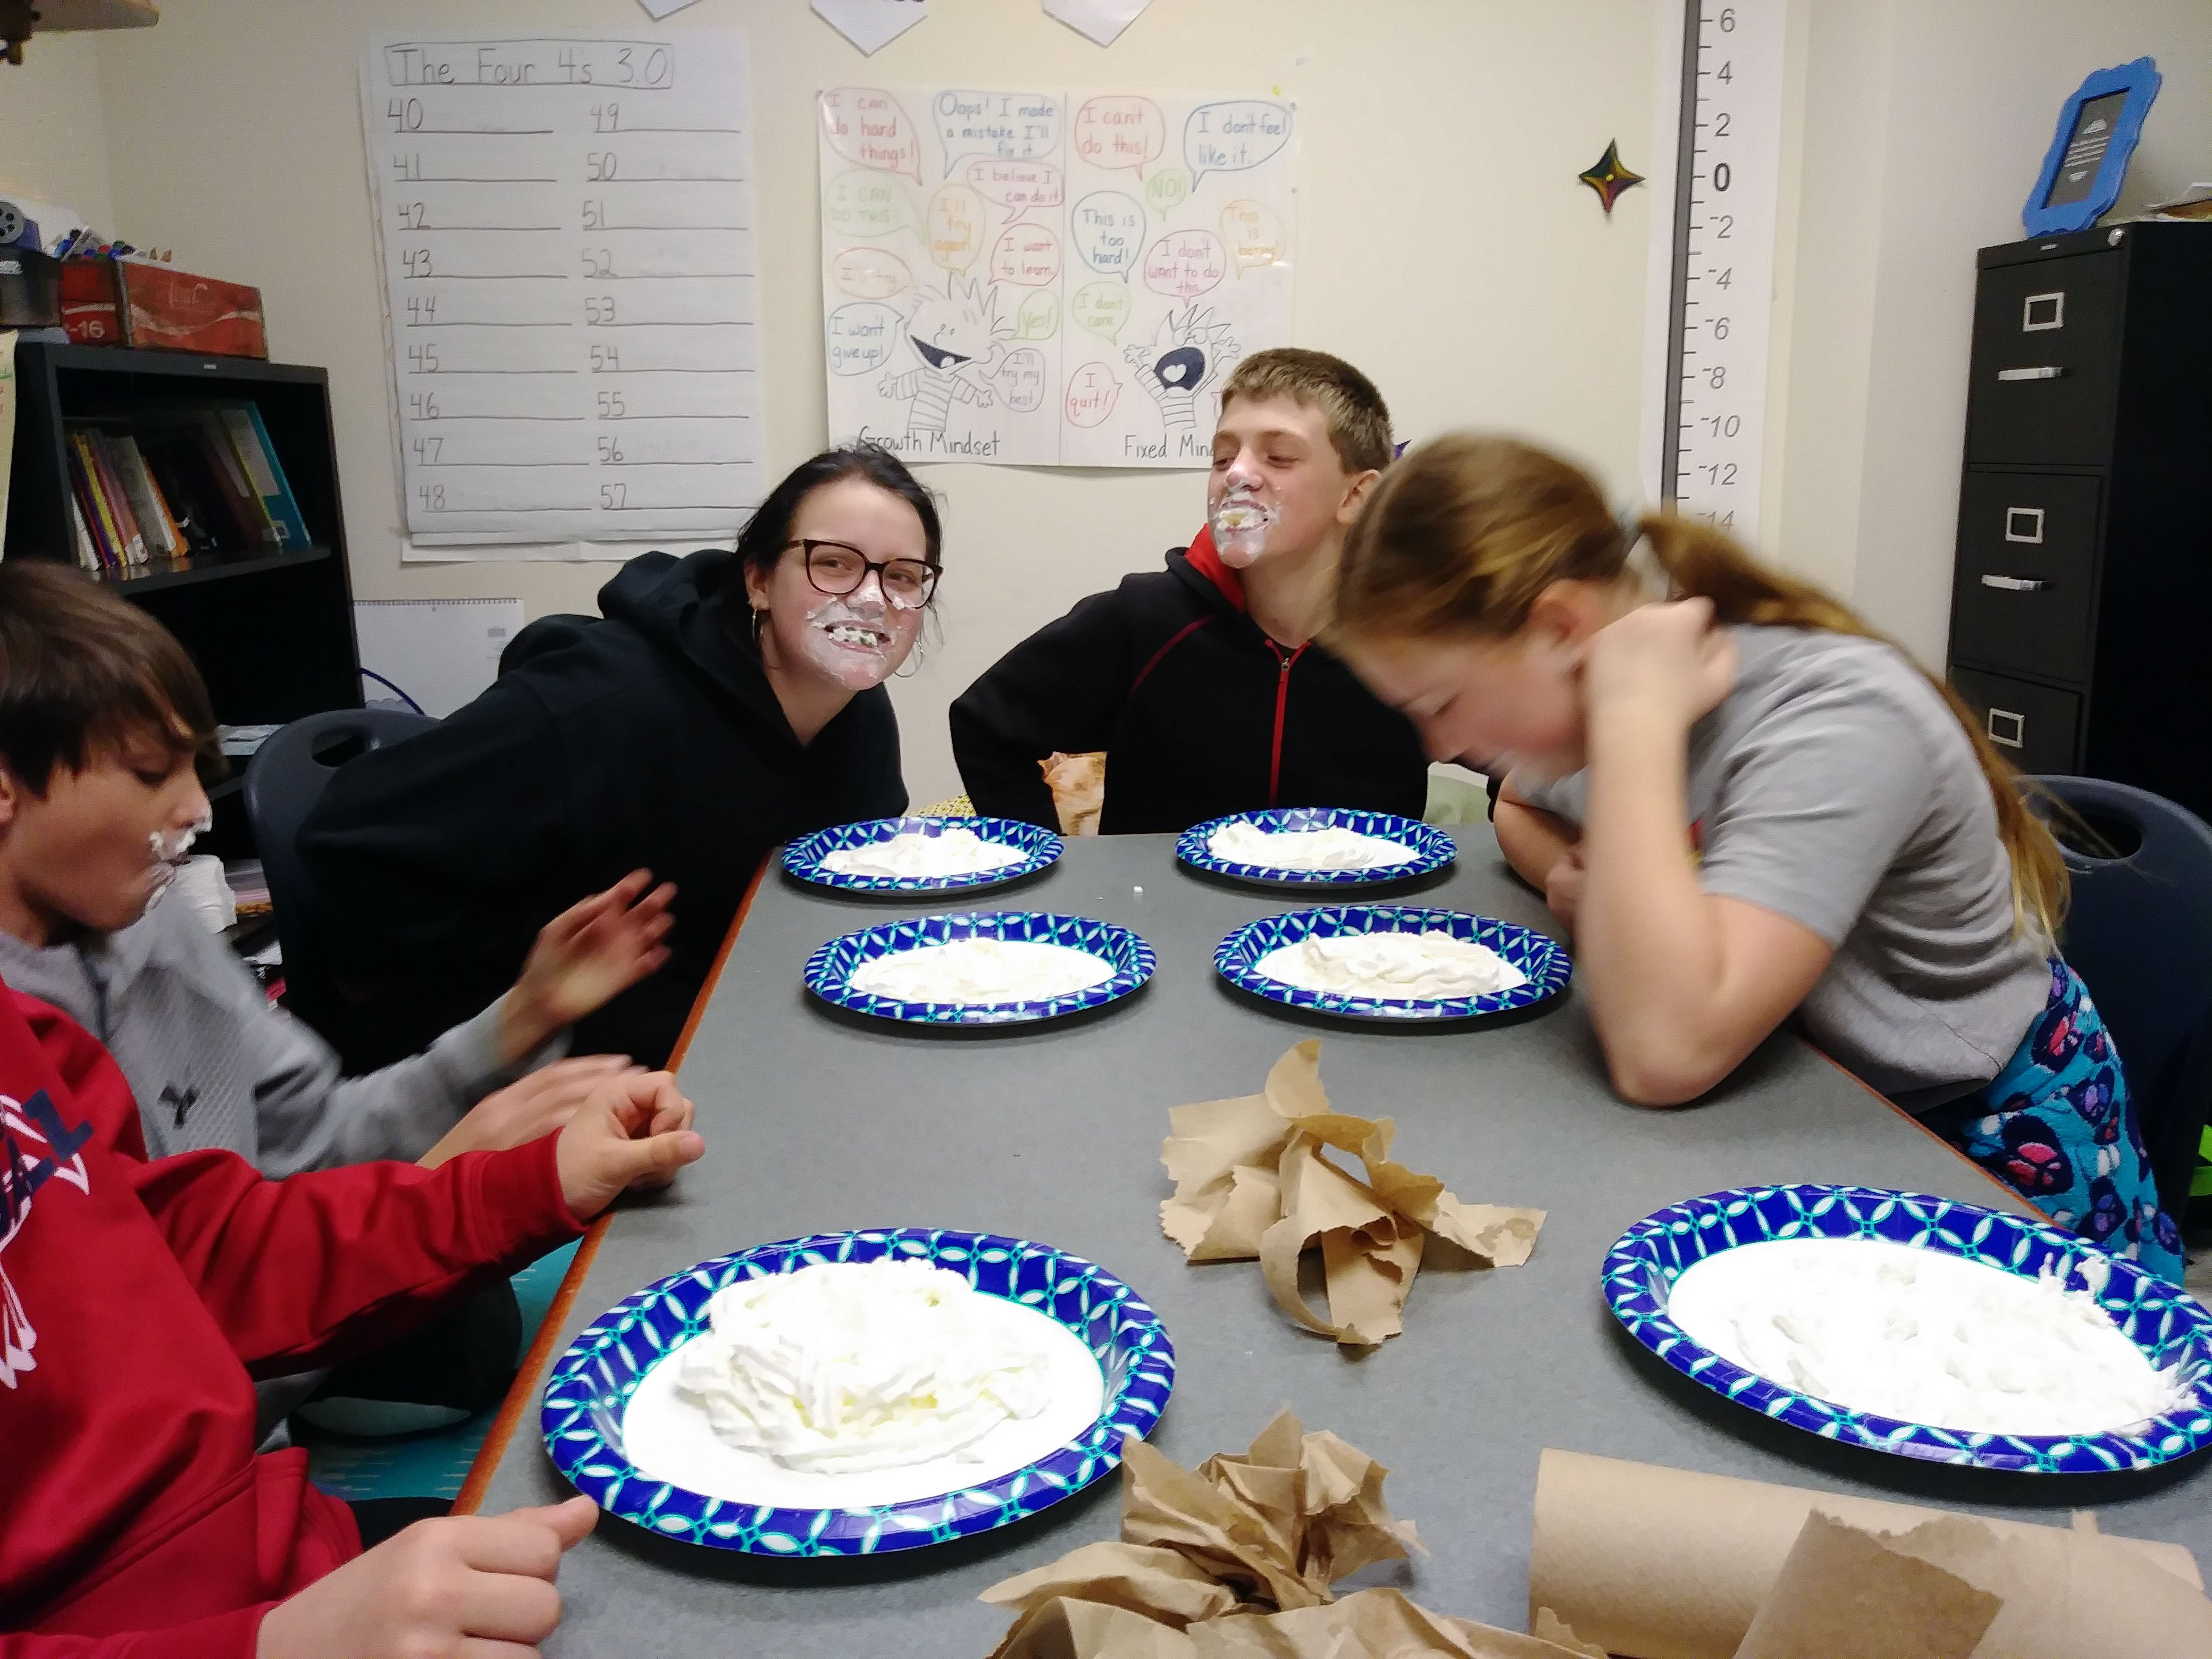
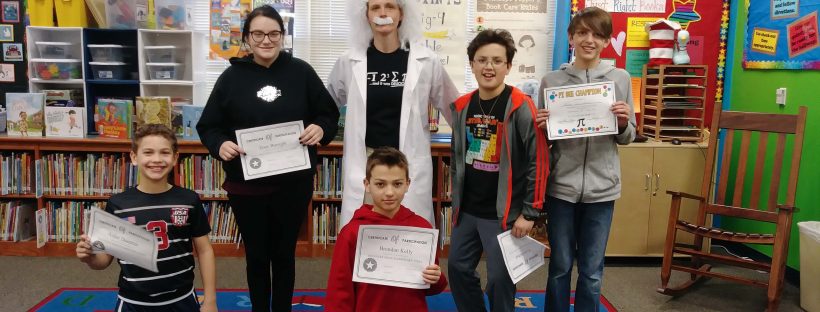
Two weeks before Pi day, I collected Pie Face games from parents and staff.  I purchased a white crazy scientist wig and lab coat from Amazon.  I plan to use them in my STEM Camp this summer as well, so I think it was a worthwhile investment.  The wig was surprisingly good for the price however it is on the small side.  The coat is a normal fit – so if you are normally a medium then get that size.

I also had parents sign up to bring in whipped cream, plates and gummy bears.  We had extra gummy bears and will use them throughout the year.  I asked a couple of parents to help set up as well.  This was a big help at the beginning and end of the event.

I asked the art teacher if I could borrow a class set of markers or colored pencils.

I purchased and collected and copied additional materials for Pi Day.  I had decorations and activities from last year.  This year I added on a few more stations.

I printed and laminated Pi Day Decorations in preparation for the big day.  These are my favorite – and FREE!

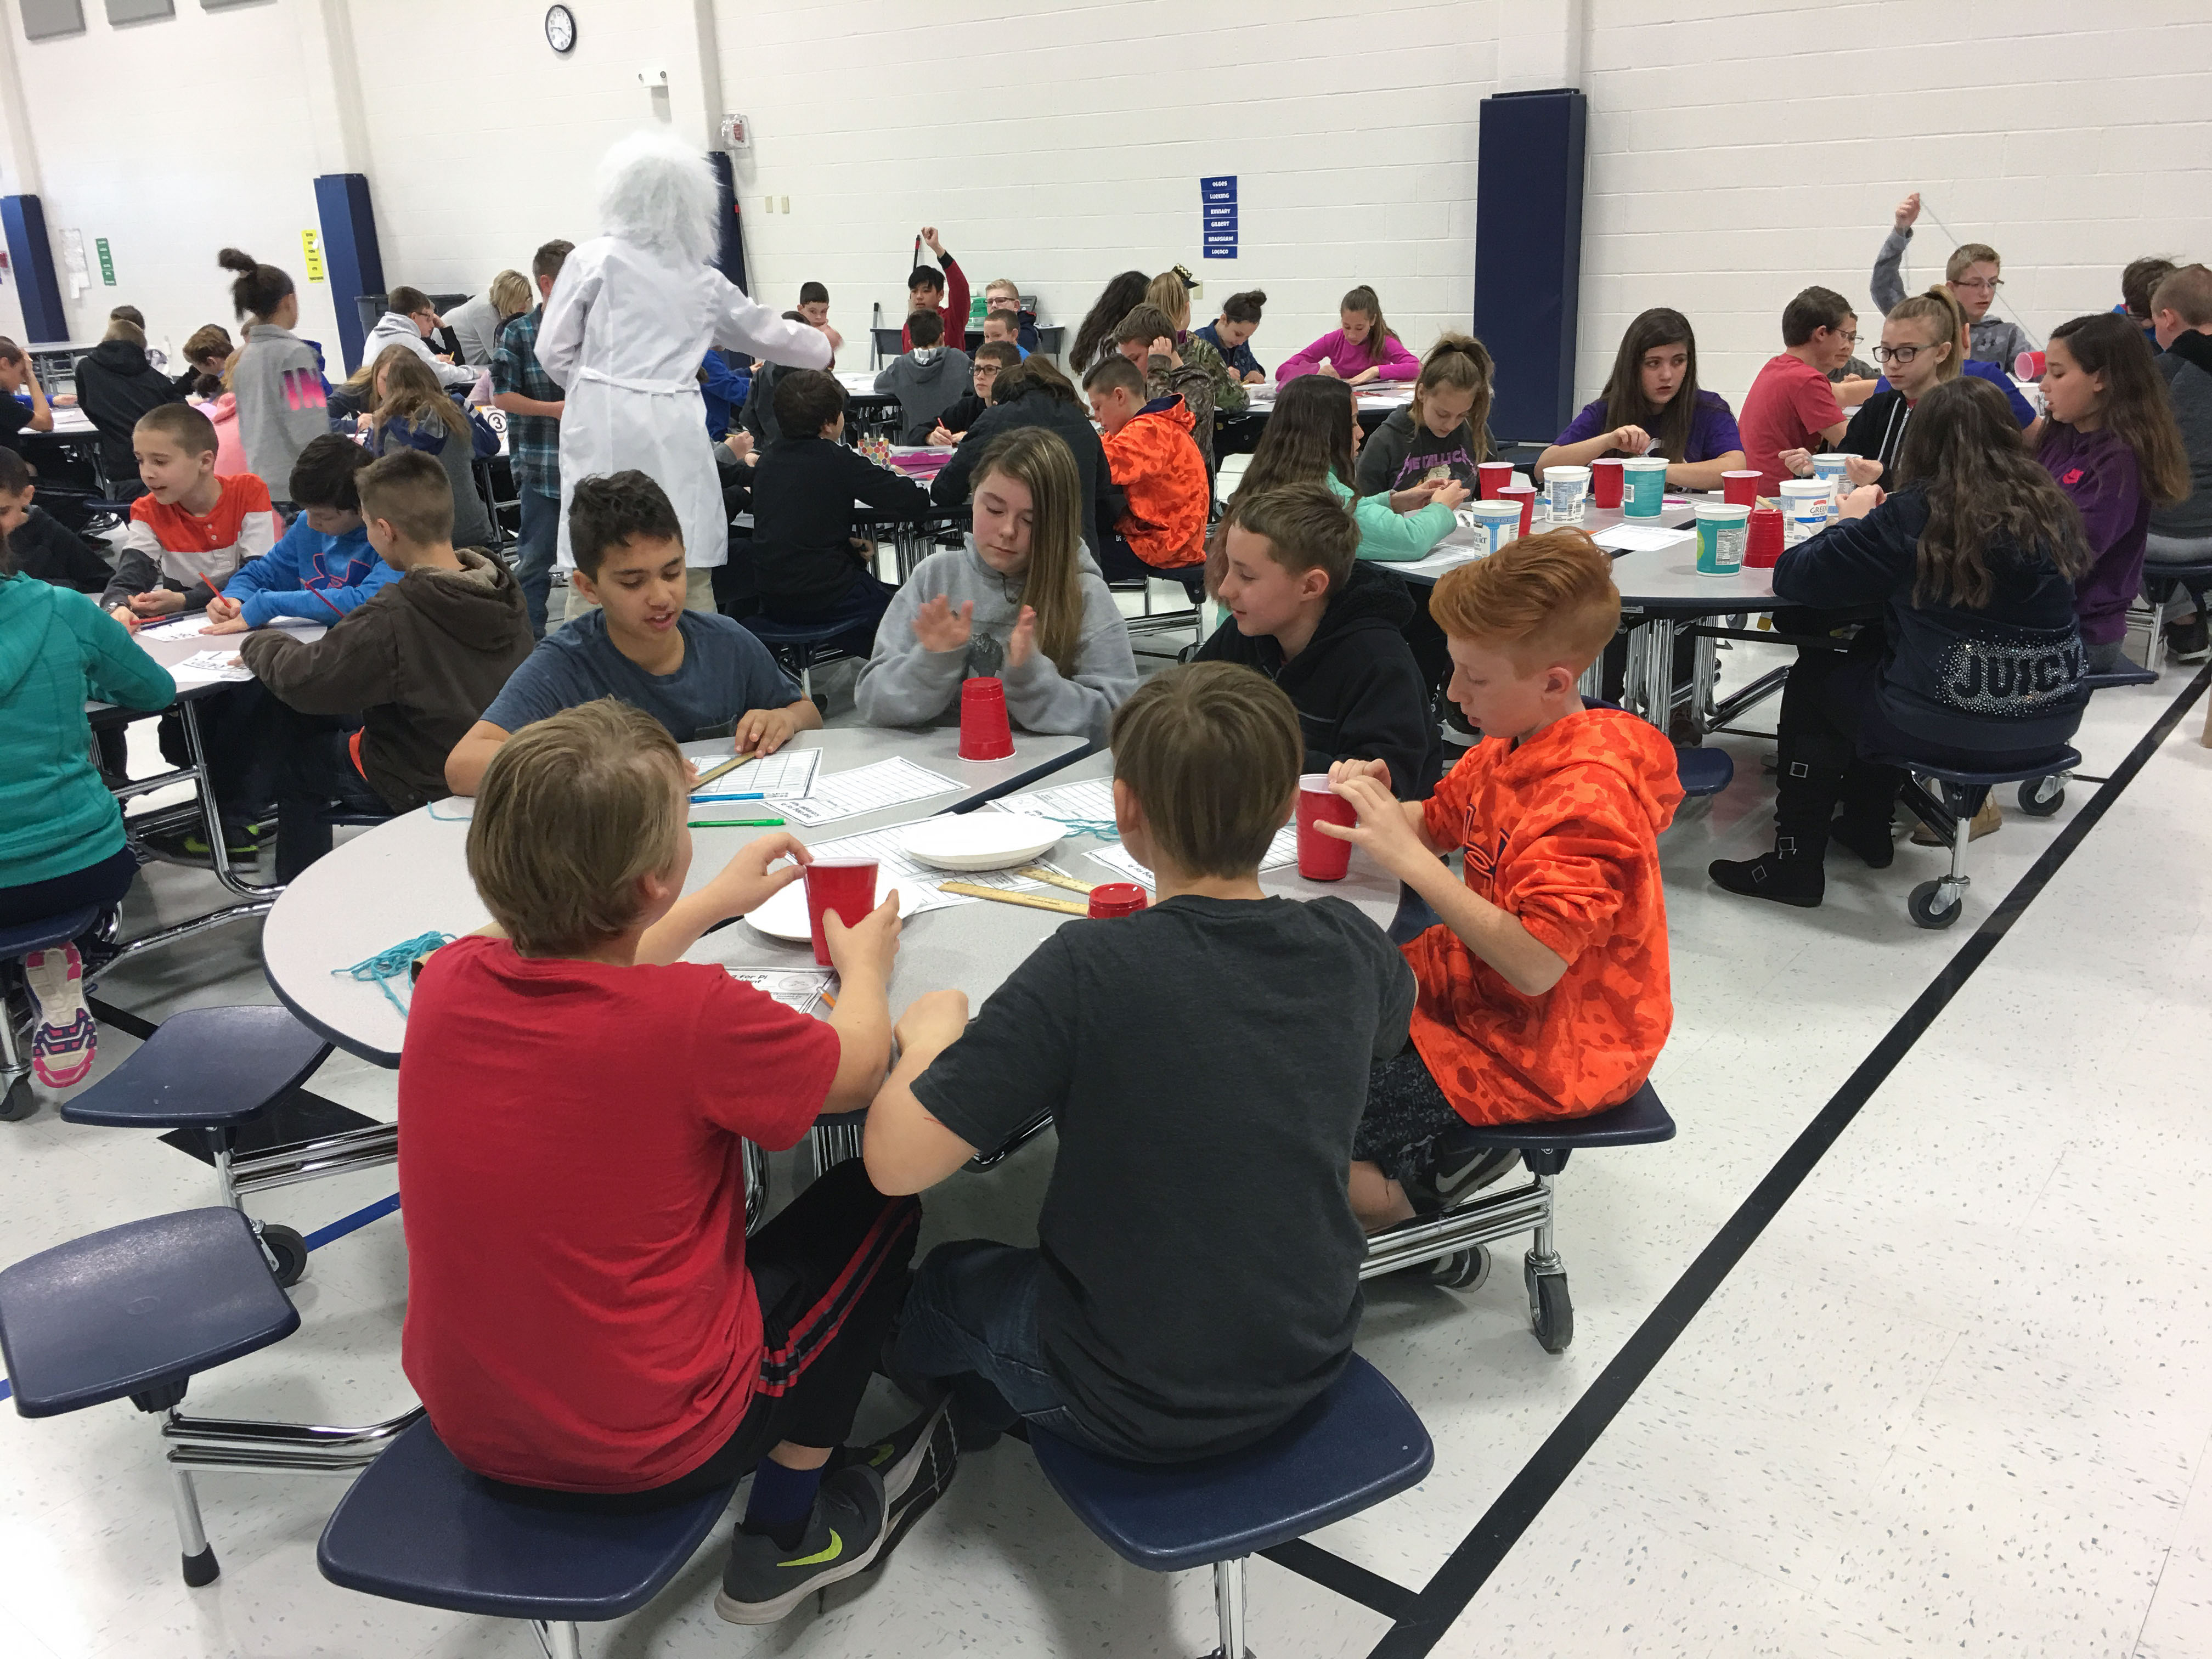
I collected string, rulers, cans, tubes, yogurt cups and anything else round for Pi Investigation Station.  I would advise NOT using paper with circles drawn on them.  It is very difficult and cumbersome.  It is simpler to keep your toilet paper tubes!

I asked any staff members free during first hour to come and join the pi day fun.  They would also get their faces full of pie 🙂
Activities I used included:

Pi Day Art Poster – this station has the students coloring different posters which will form one large poster.

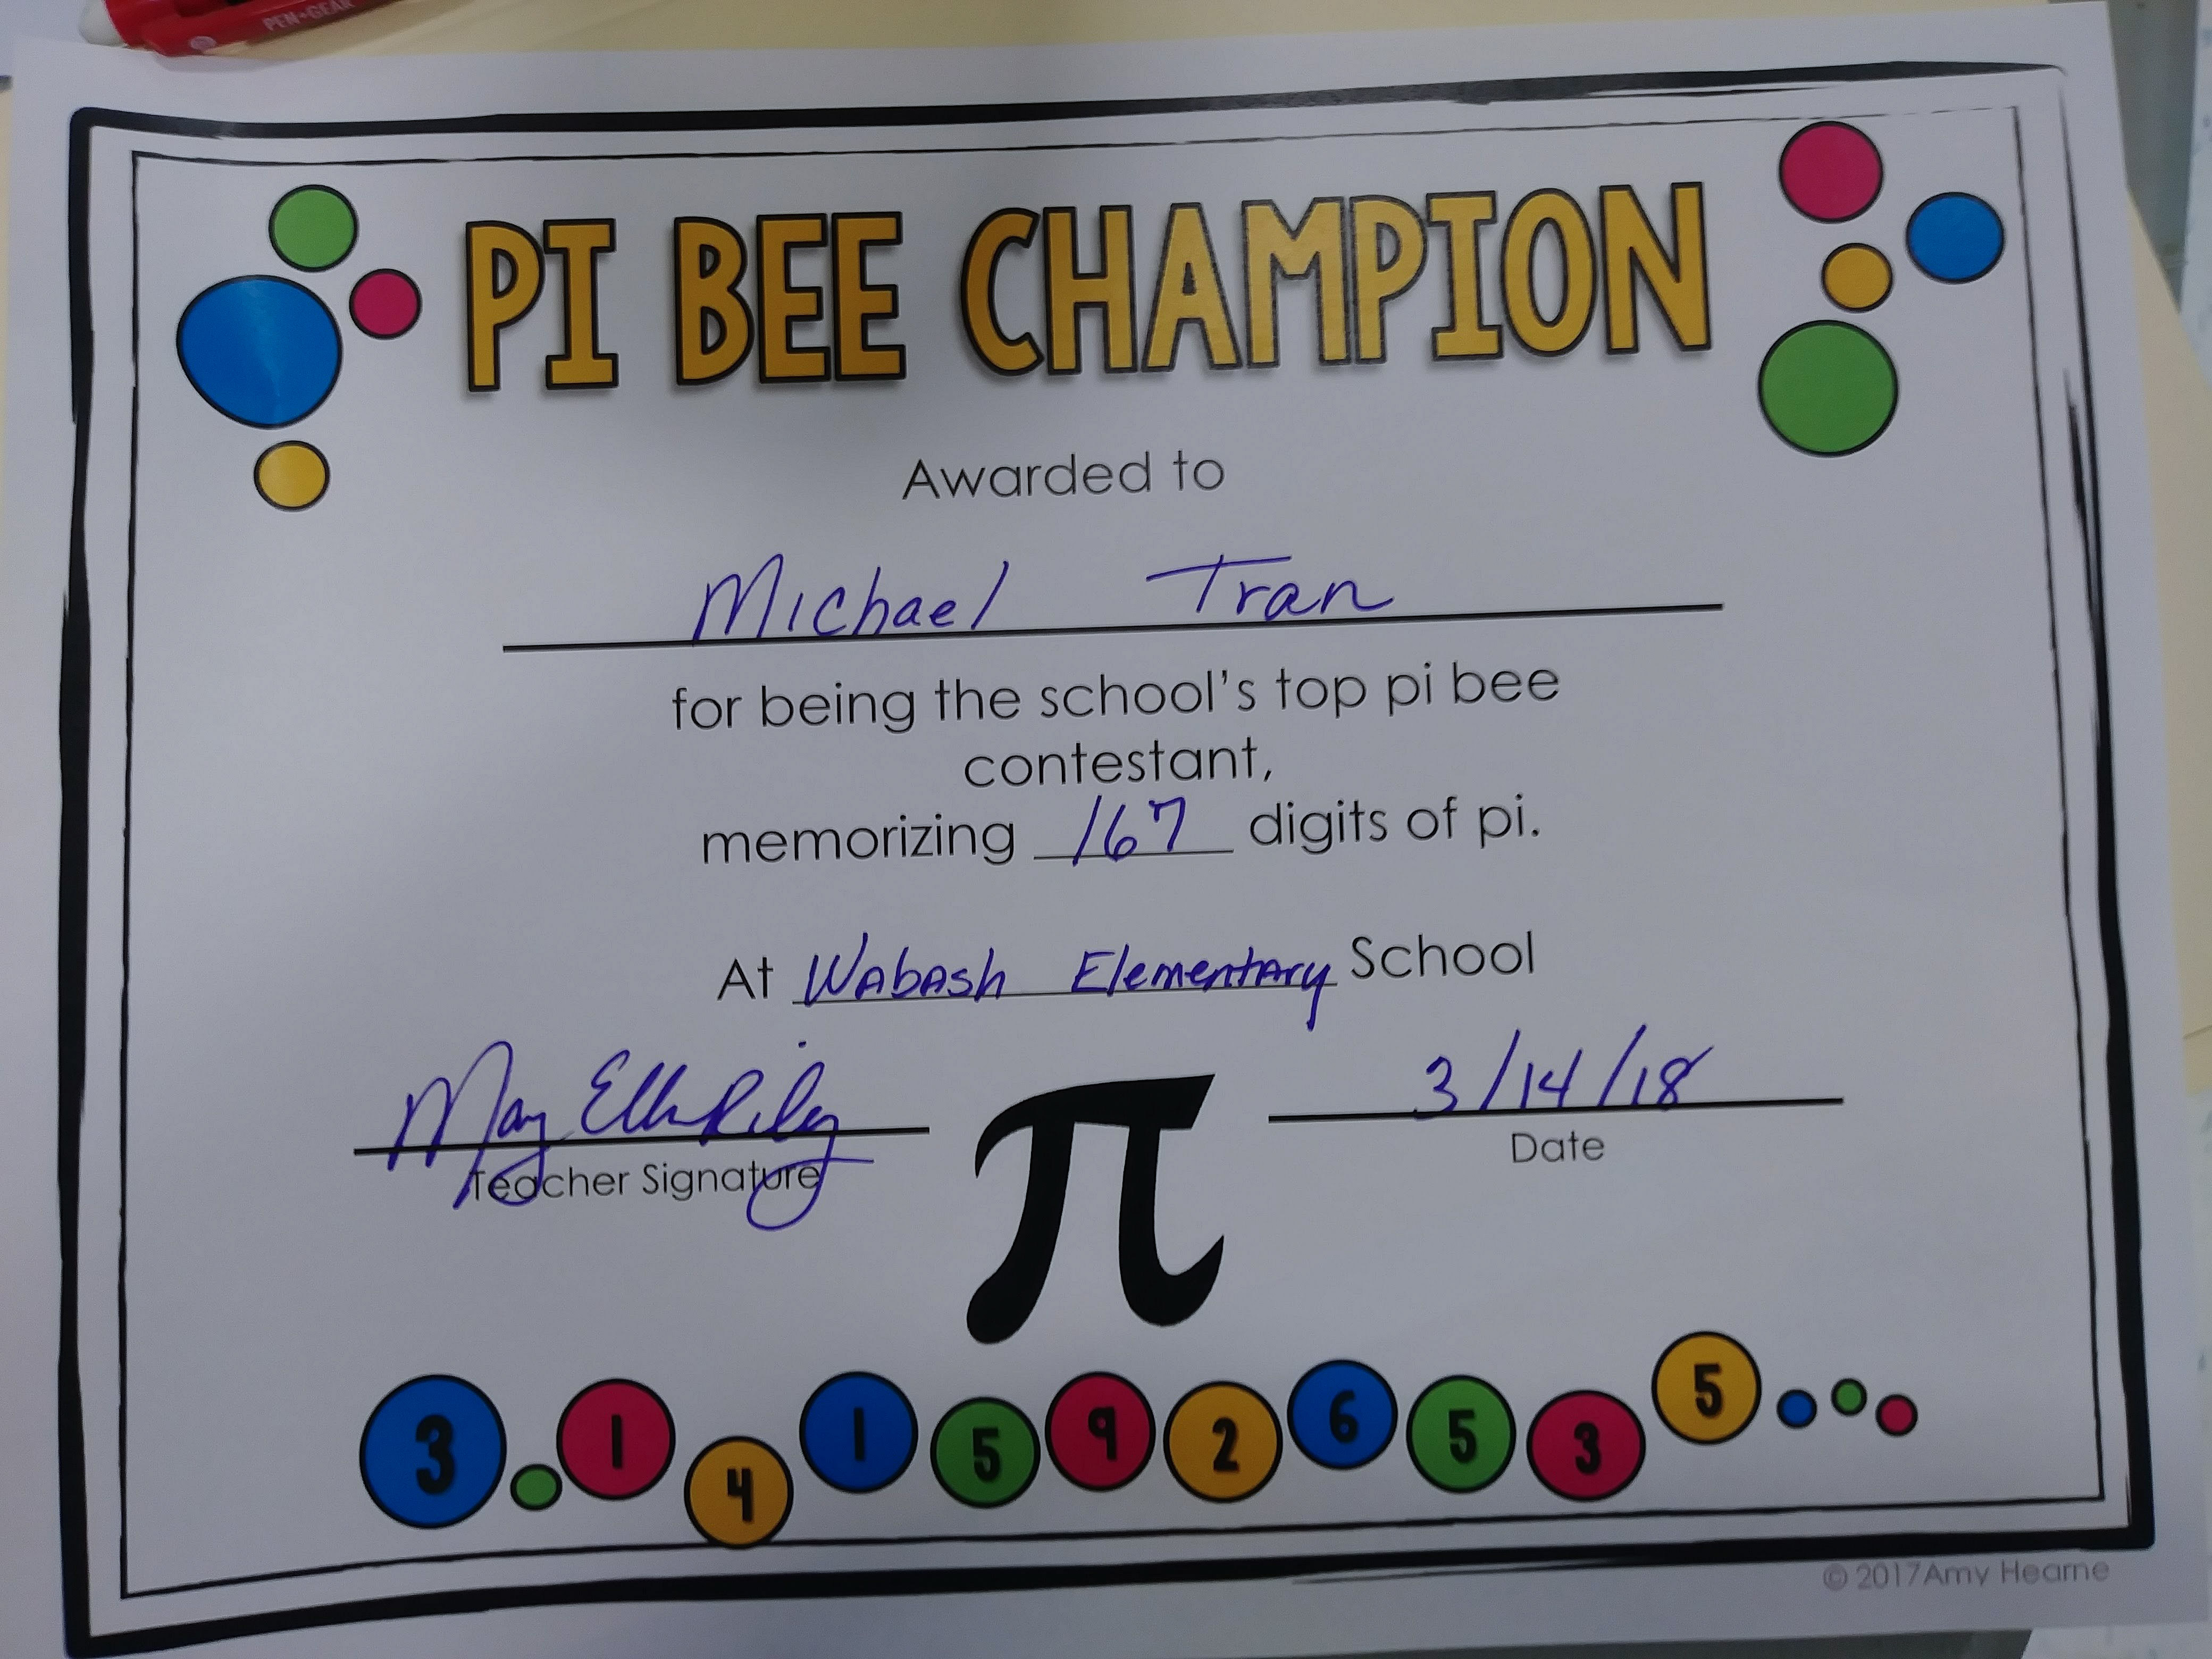
Pi Bee Certificate and Stations – This set included a pi bee certificate which I gave to each of the winners.  I work at two different schools, so I had two 1st place winners.  There are activities I used as well.

Pi Day Word Station – I included various word searches that I found online.
More Pi Day Actvities for Stations:

No Prep Pi Day Activities: Includes another word search

Graphing and Coloring:  includes a bar graph activity and art activity

Poster:  Free poster
Pi Day Extensions:

For my gifted education class, I used a Pi Day breakout where the students had to solve puzzles and use pi to figure out the locks.  All of the materials are in the shared folder here.

Pi Day Breakout

The Day is Here!!!

Pi Day finally had arrived!  Here is how our day went so you can have your own pi day too!

  1.  Pi Day Slideshow
  2. Introduced Albert Einstein and who he was and why the day was so special.  Introduced what pi actually is and had it up on the large projector.
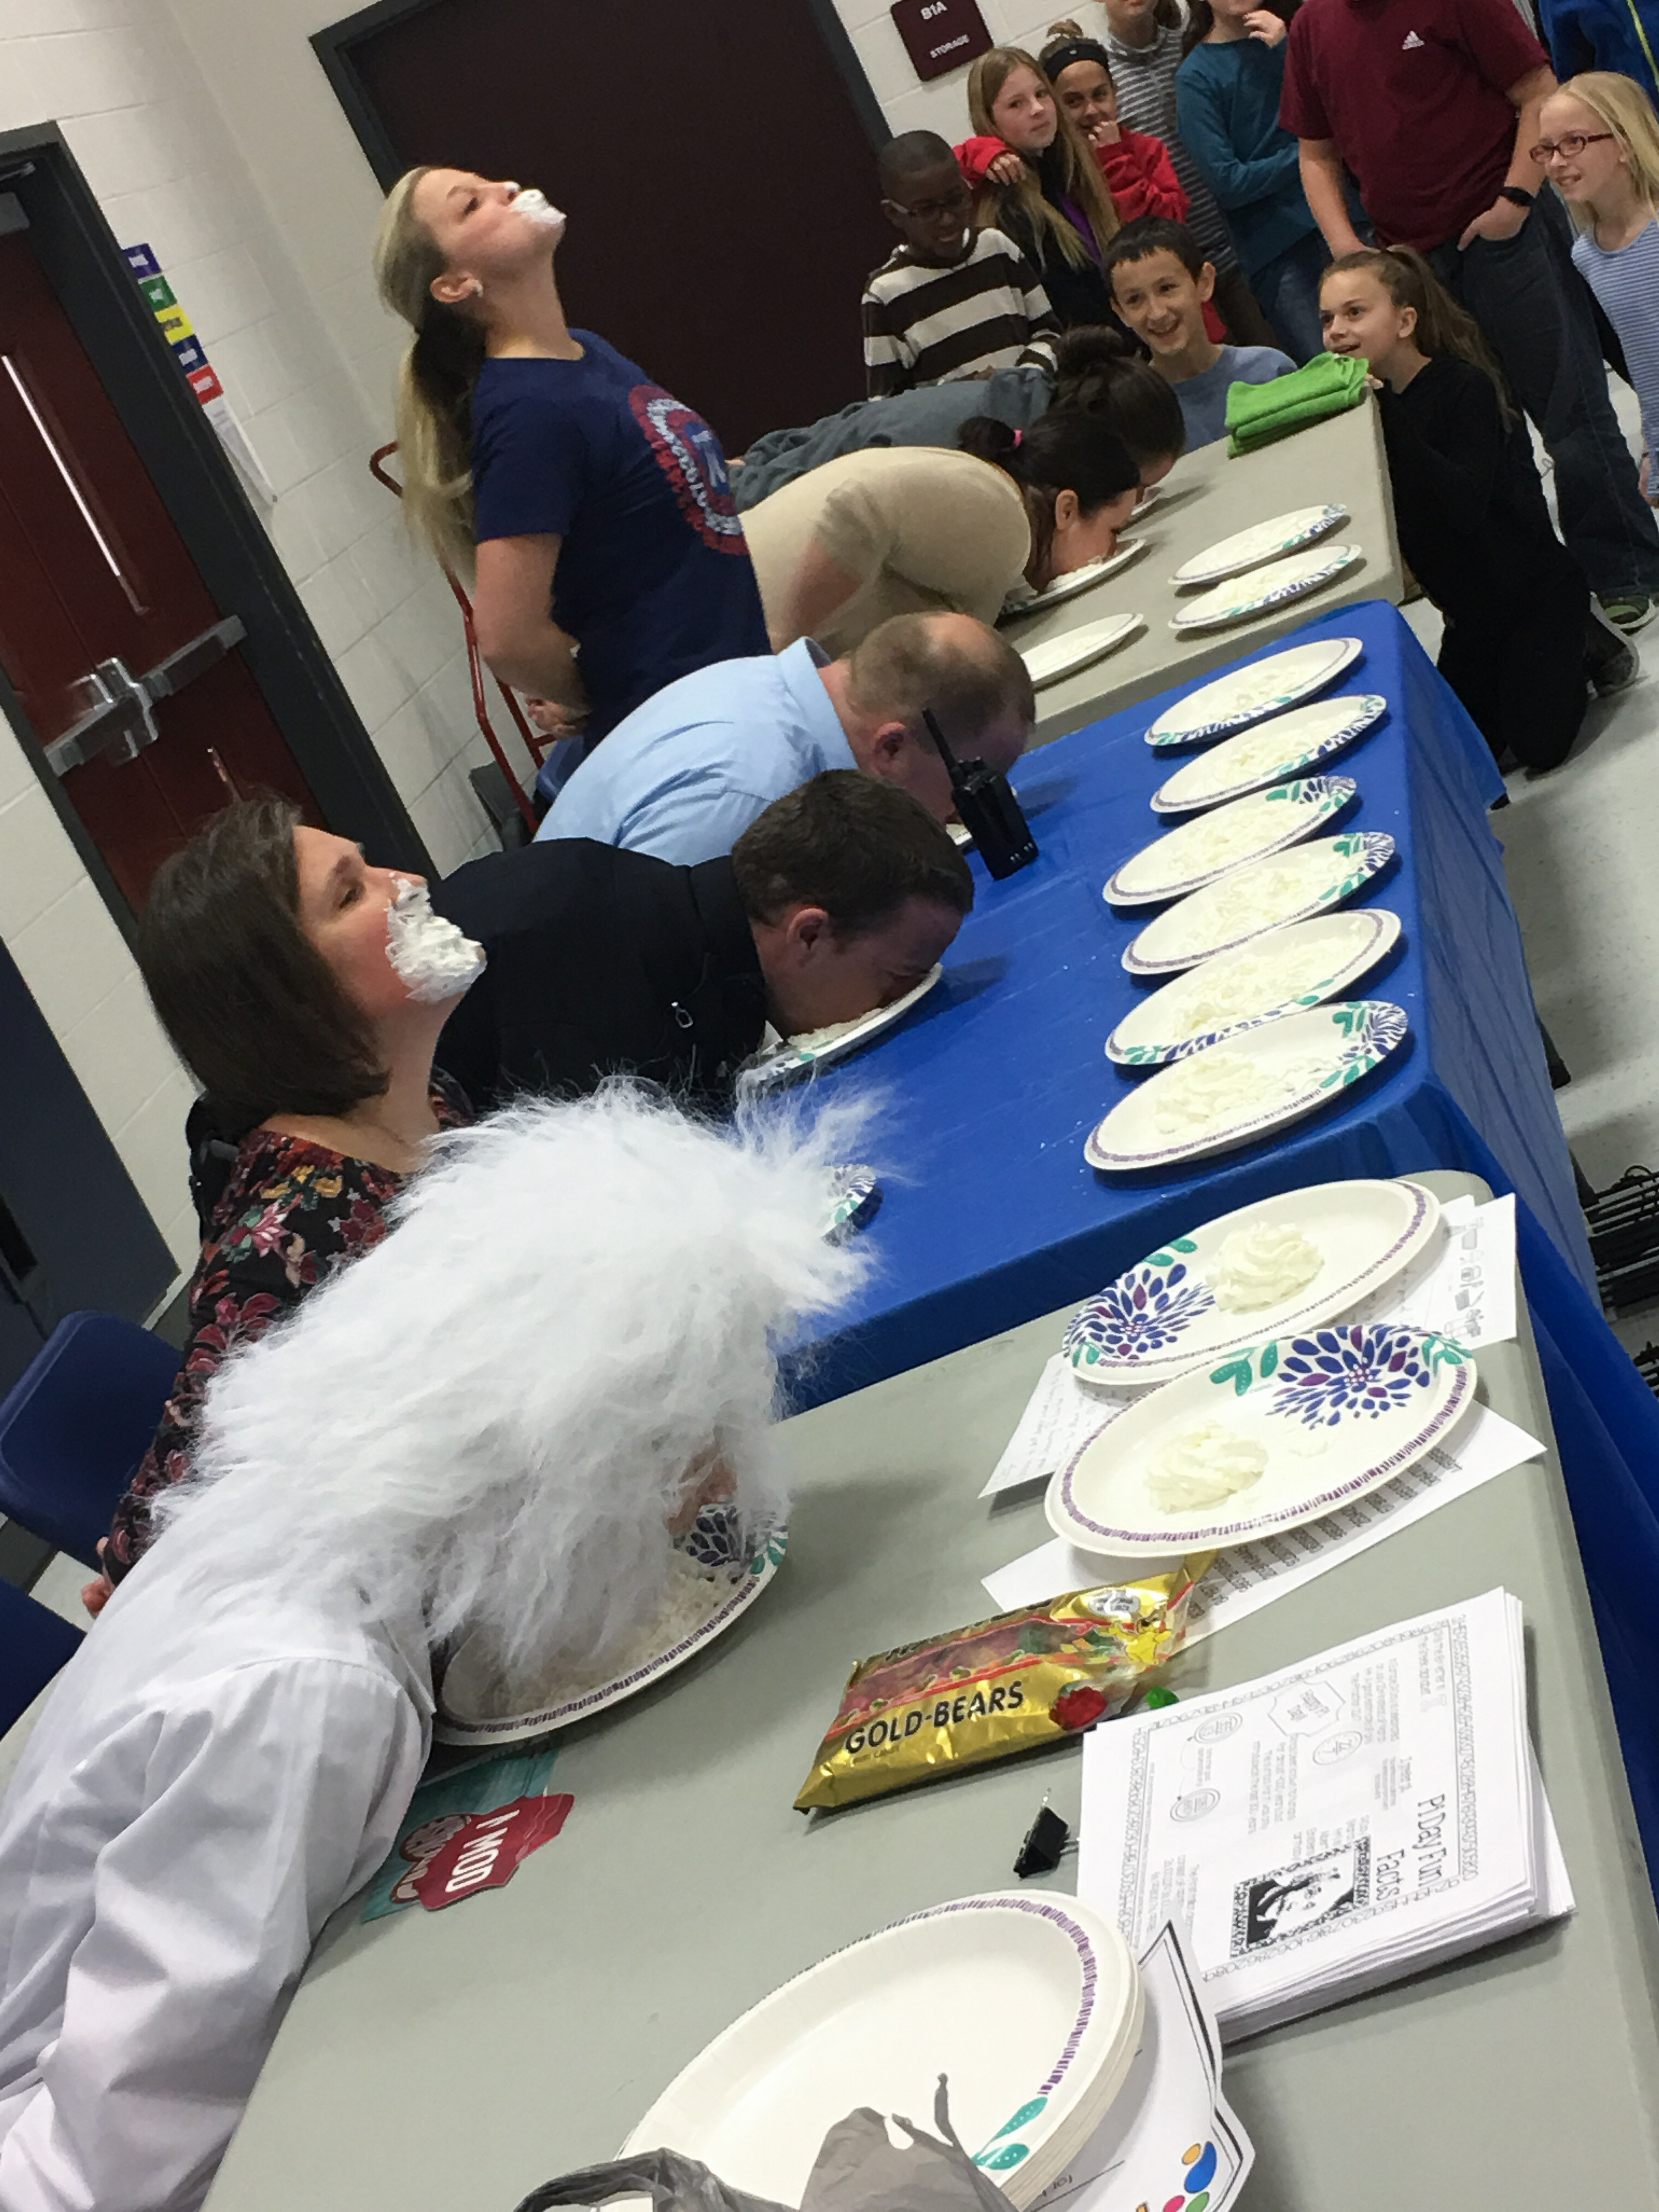
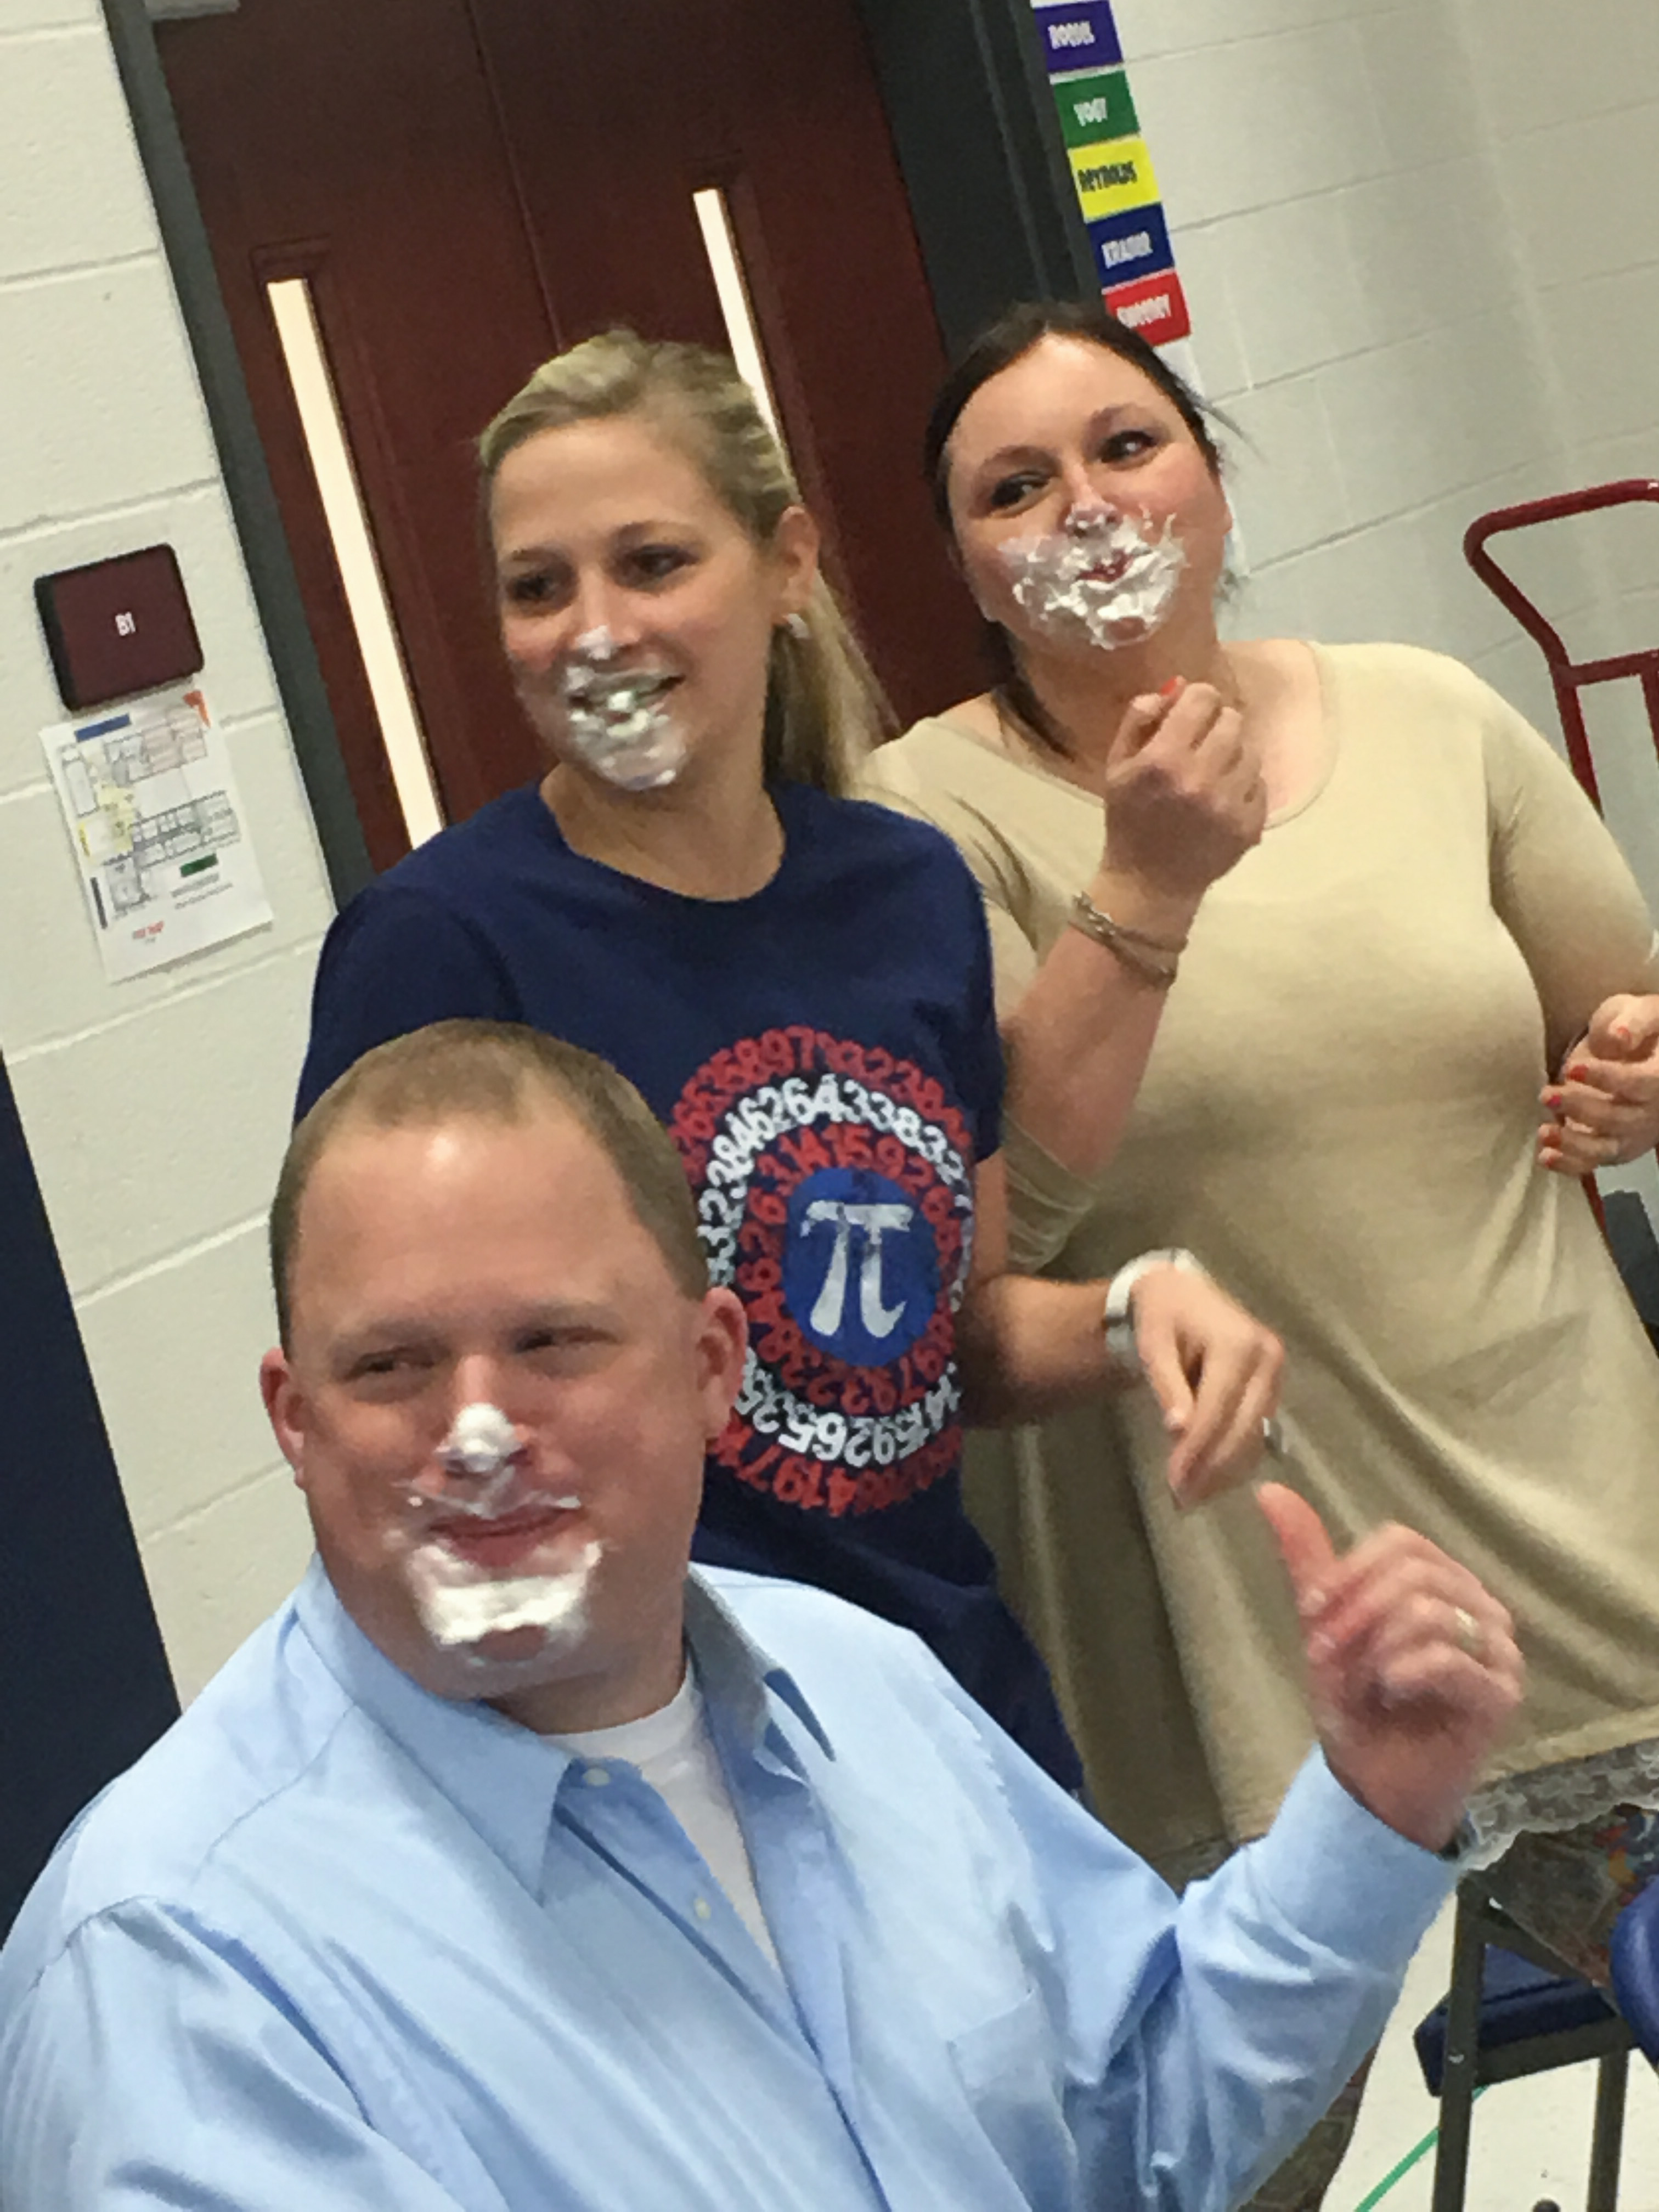
  3. Pie Contest!!  This can go first or last.  We had paper plates with one gummy bear in each.  Then the plates were covered in whipped cream.  The staff members and I had to find the gummy bear and show everyone first – withOUT using your hands!!
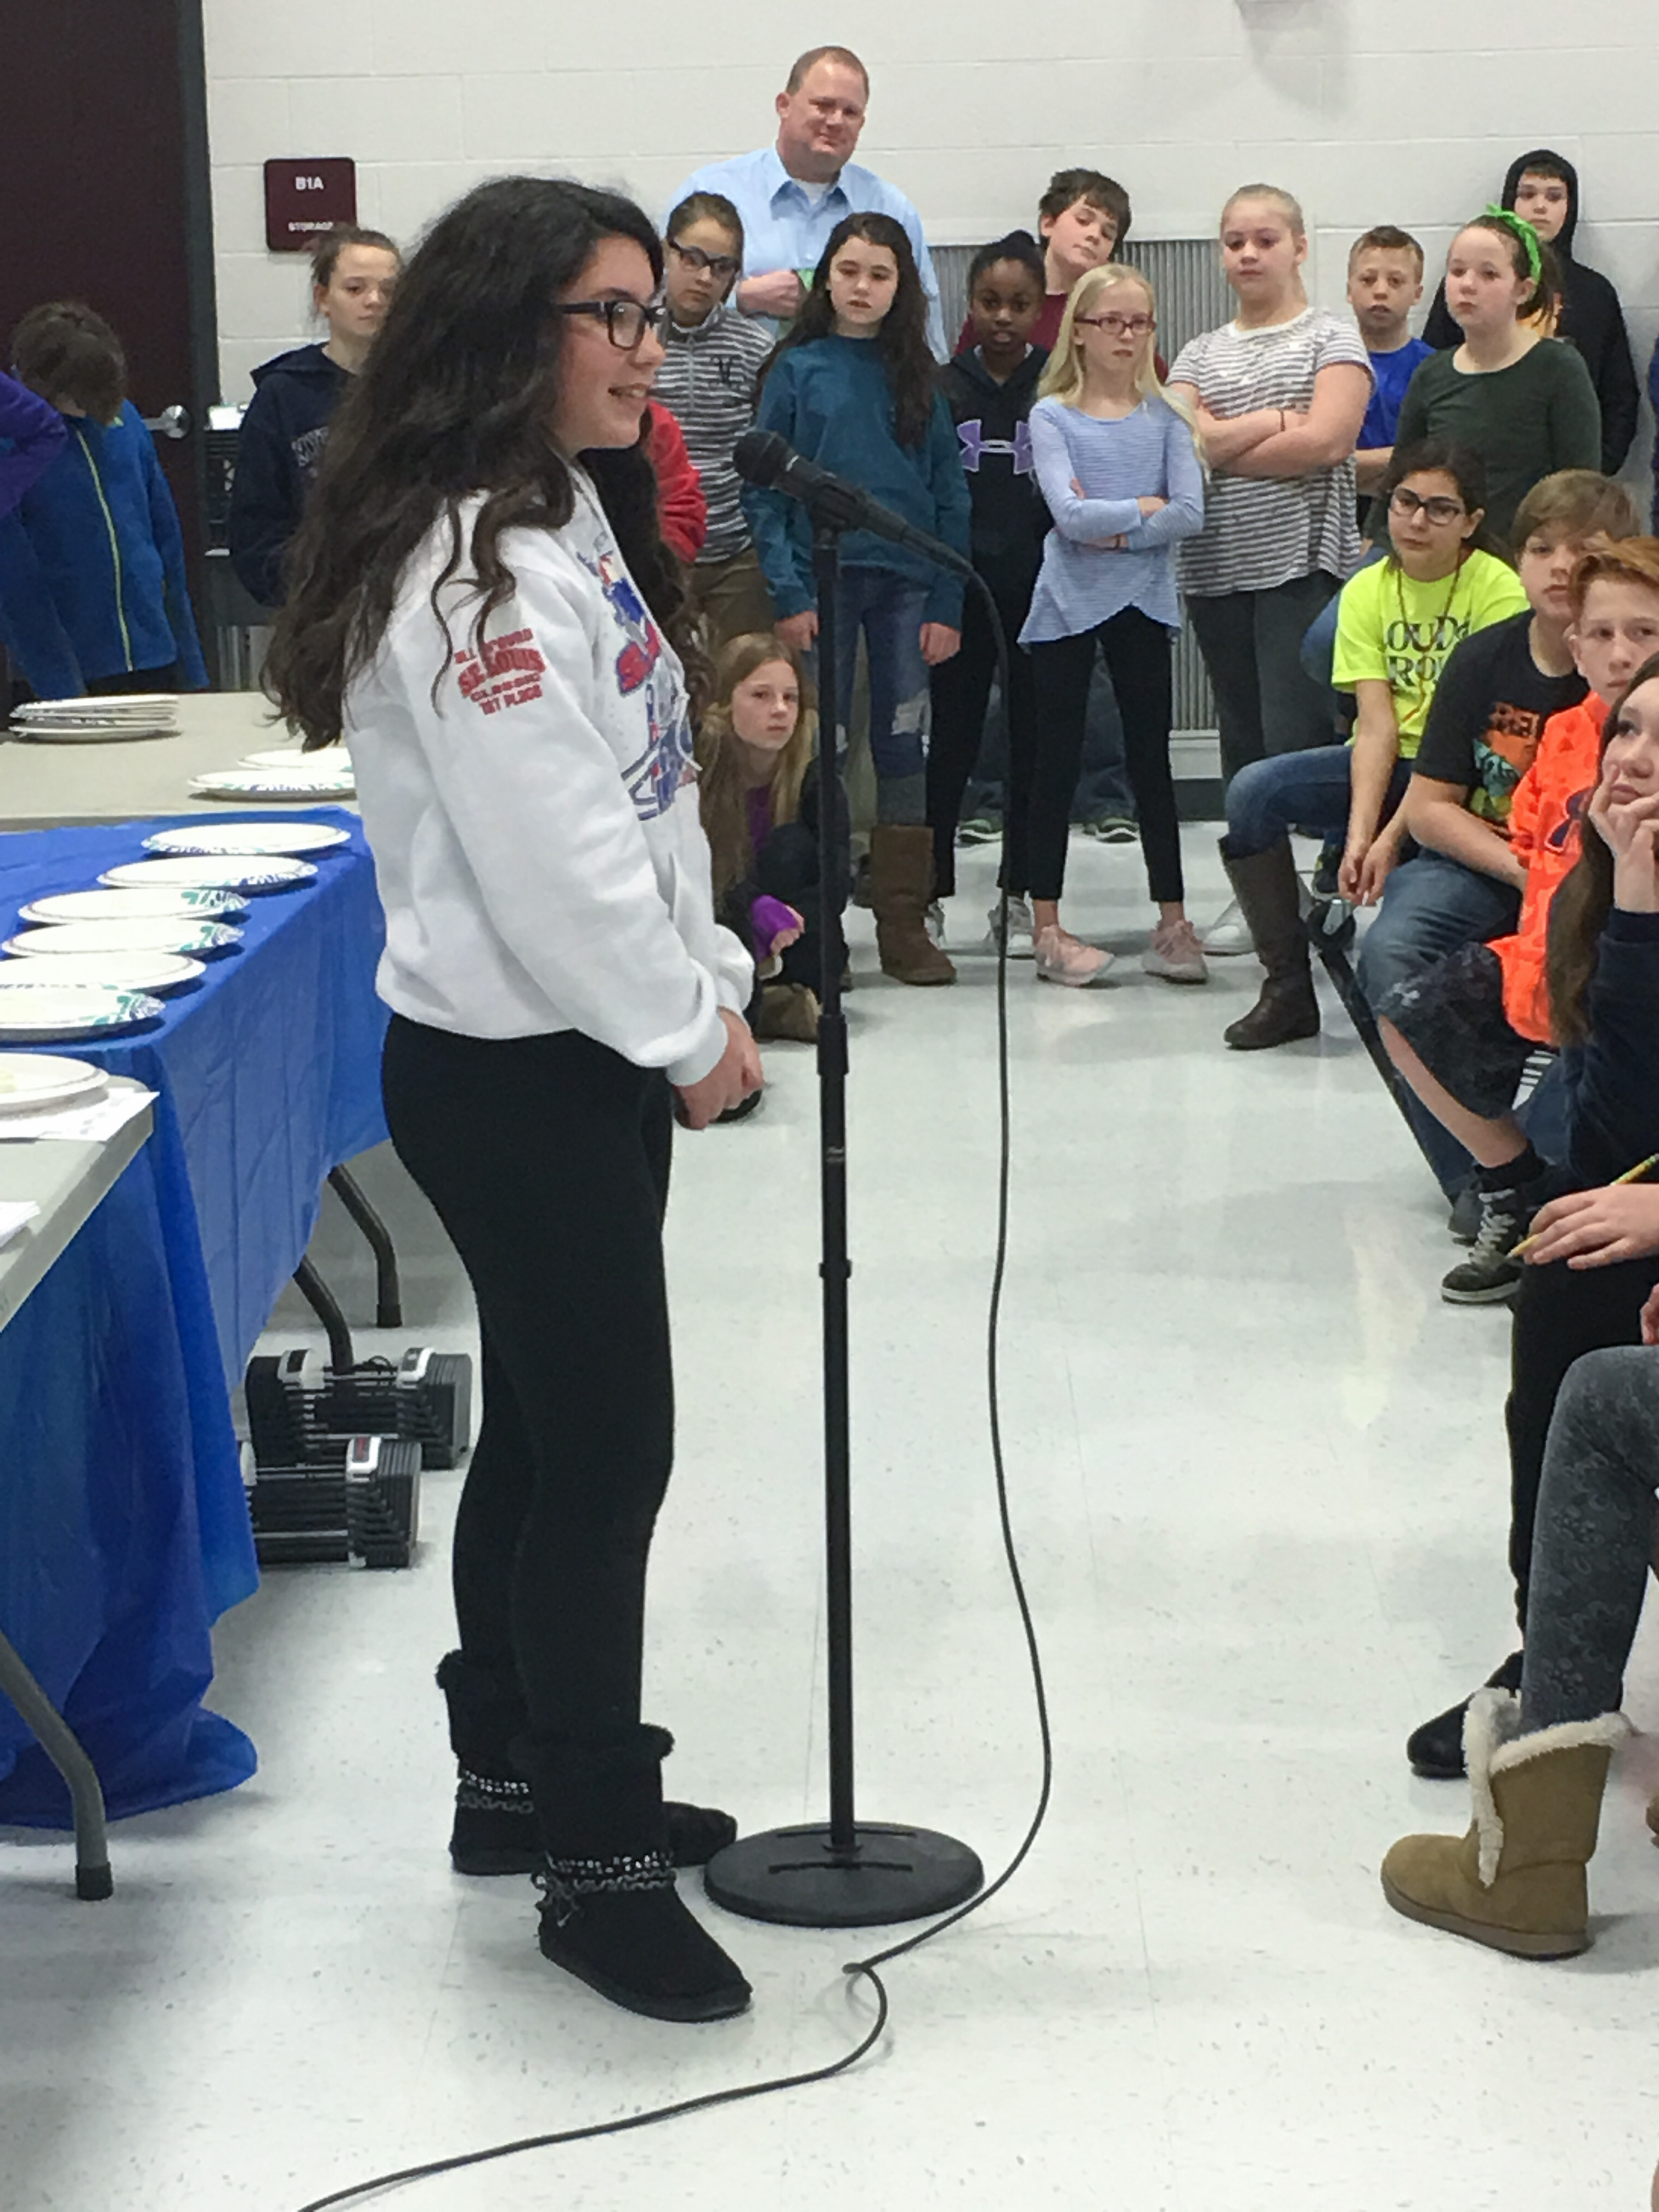
  4. Pi Bee – contestants came up and gave the digits of pi.  This part will go by much faster than you think!  I had two of us judging so it would be fair in case there was a close call.
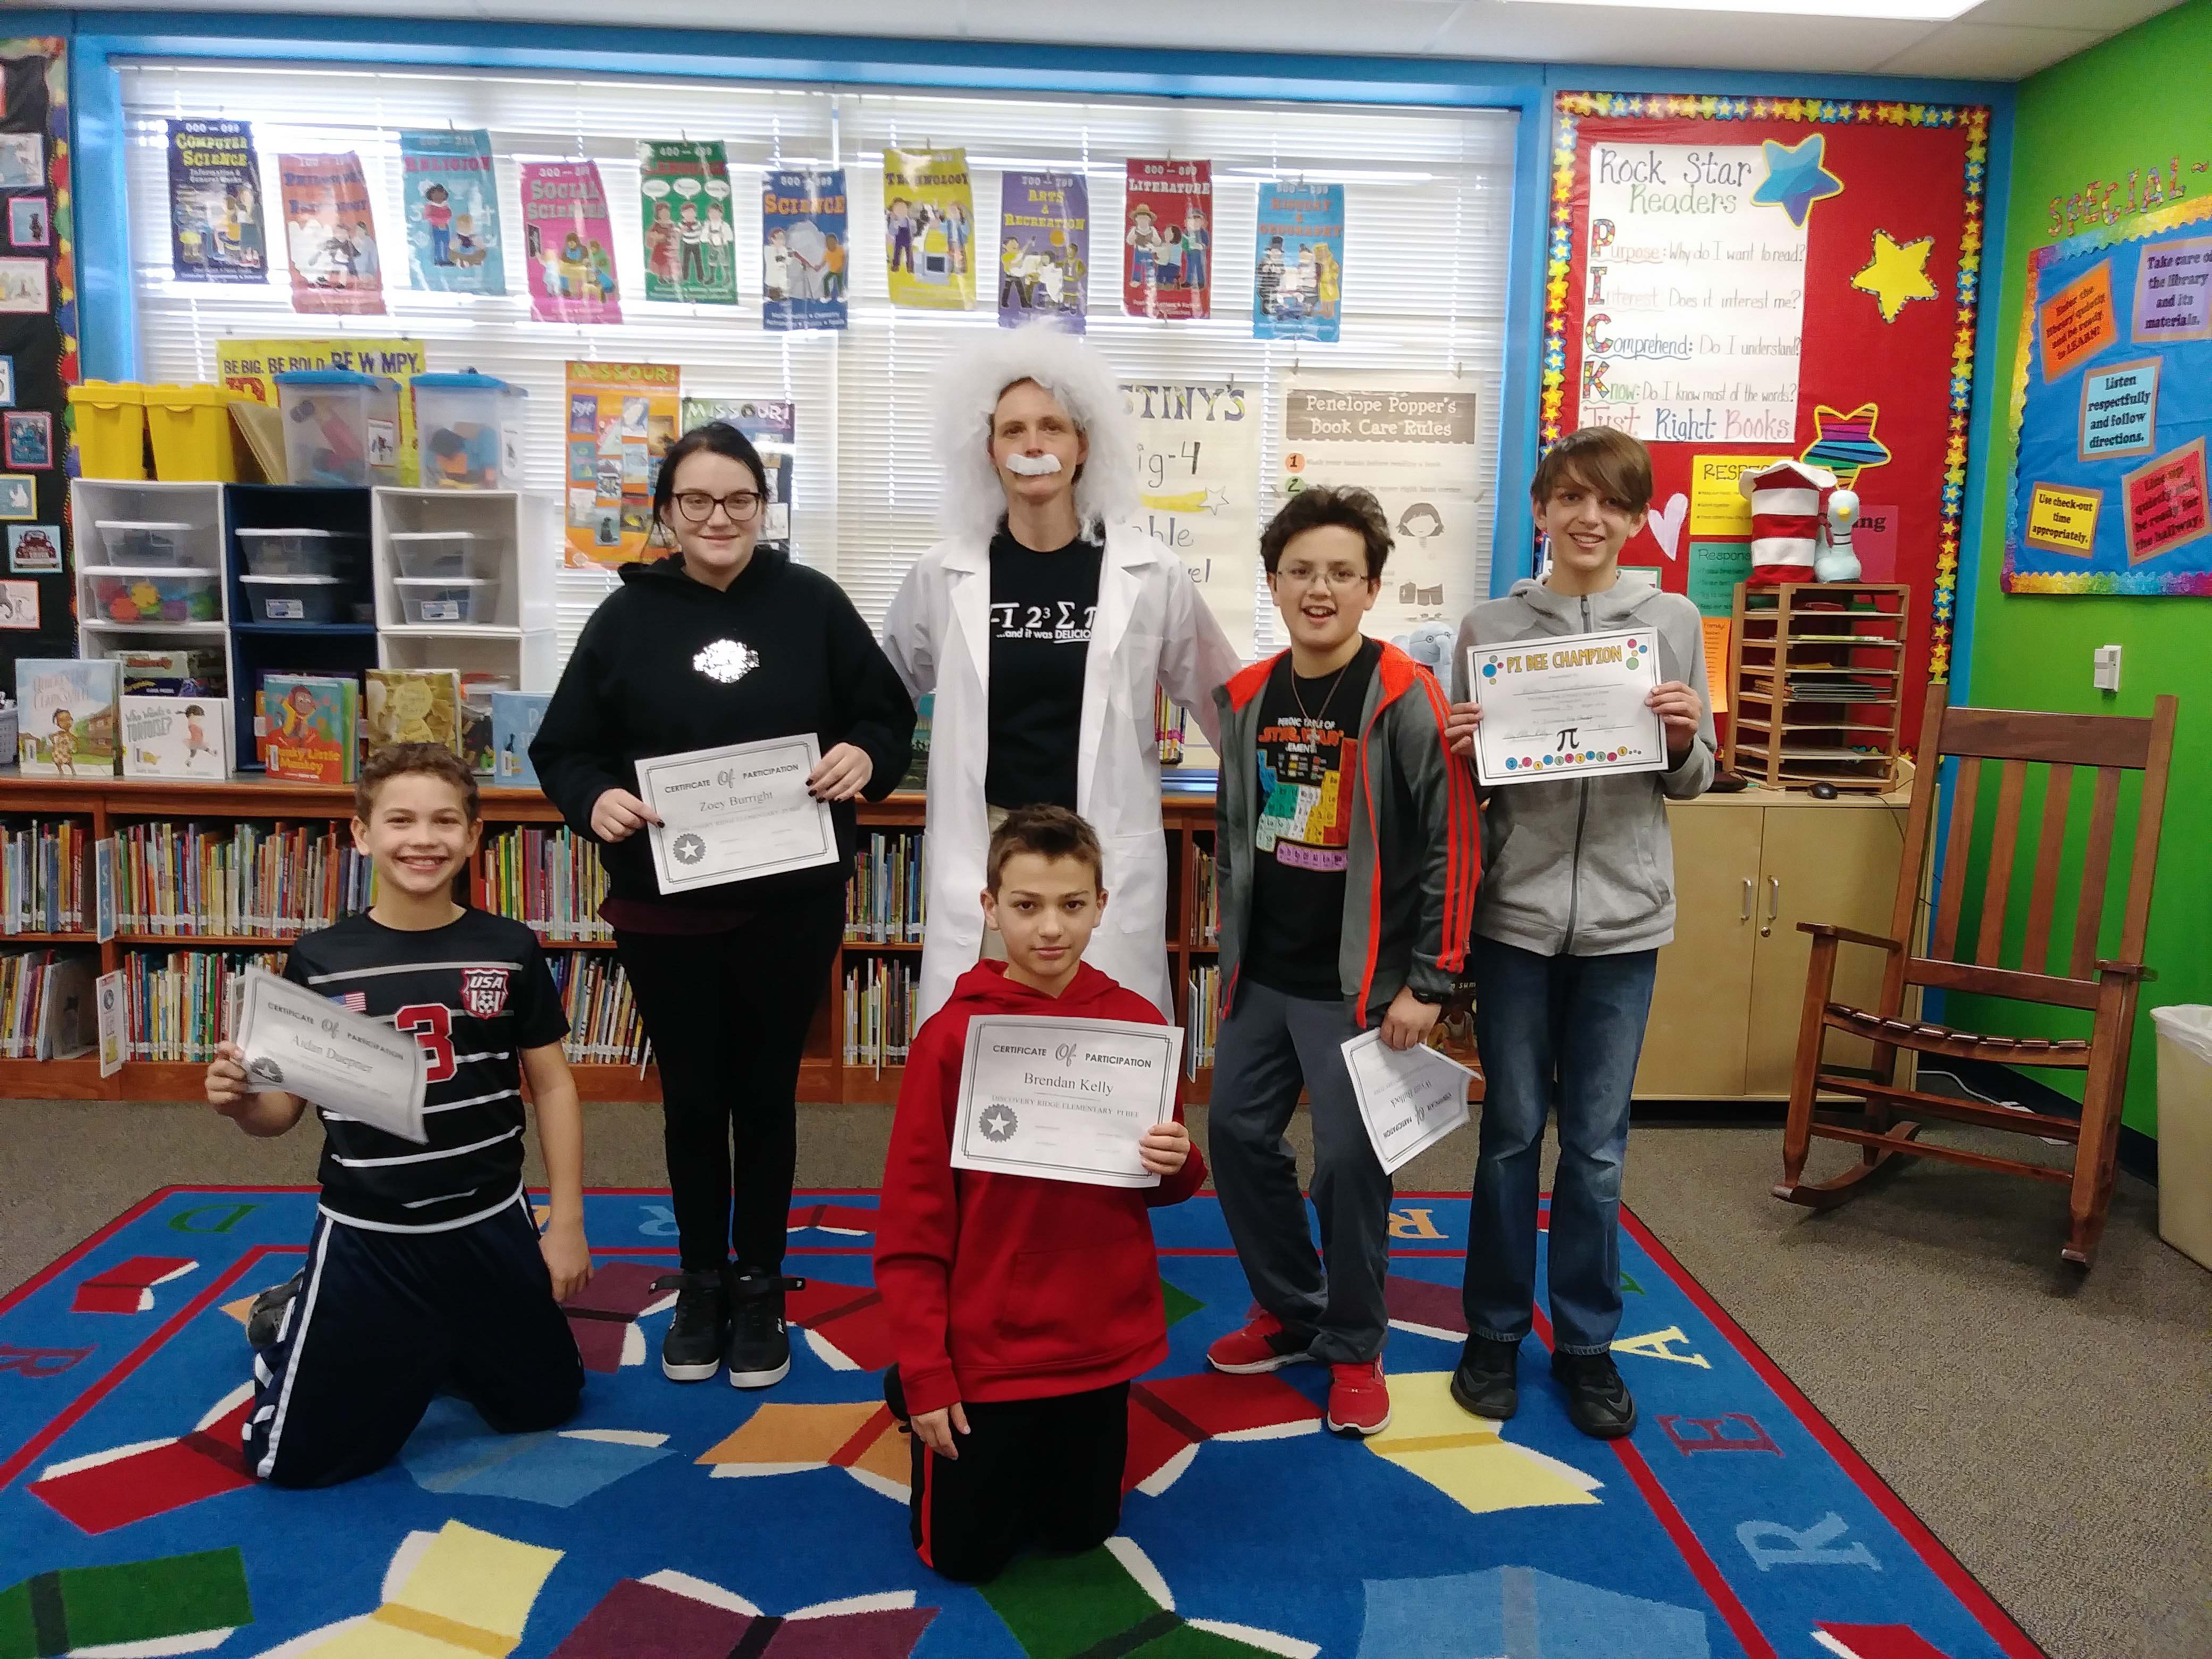
  5. The pi bee winner was announced and given his or her certificate and prize.
  6. Explained the stations.  The pi bee contestants had to do a lot of hard work – so they were allowed to do a little bit of the stations and played the pie face game the rest of the time.
  7. We switched between stations every 10-15 minutes.
  8. The end!  Some students helped clean up and we were good to go!
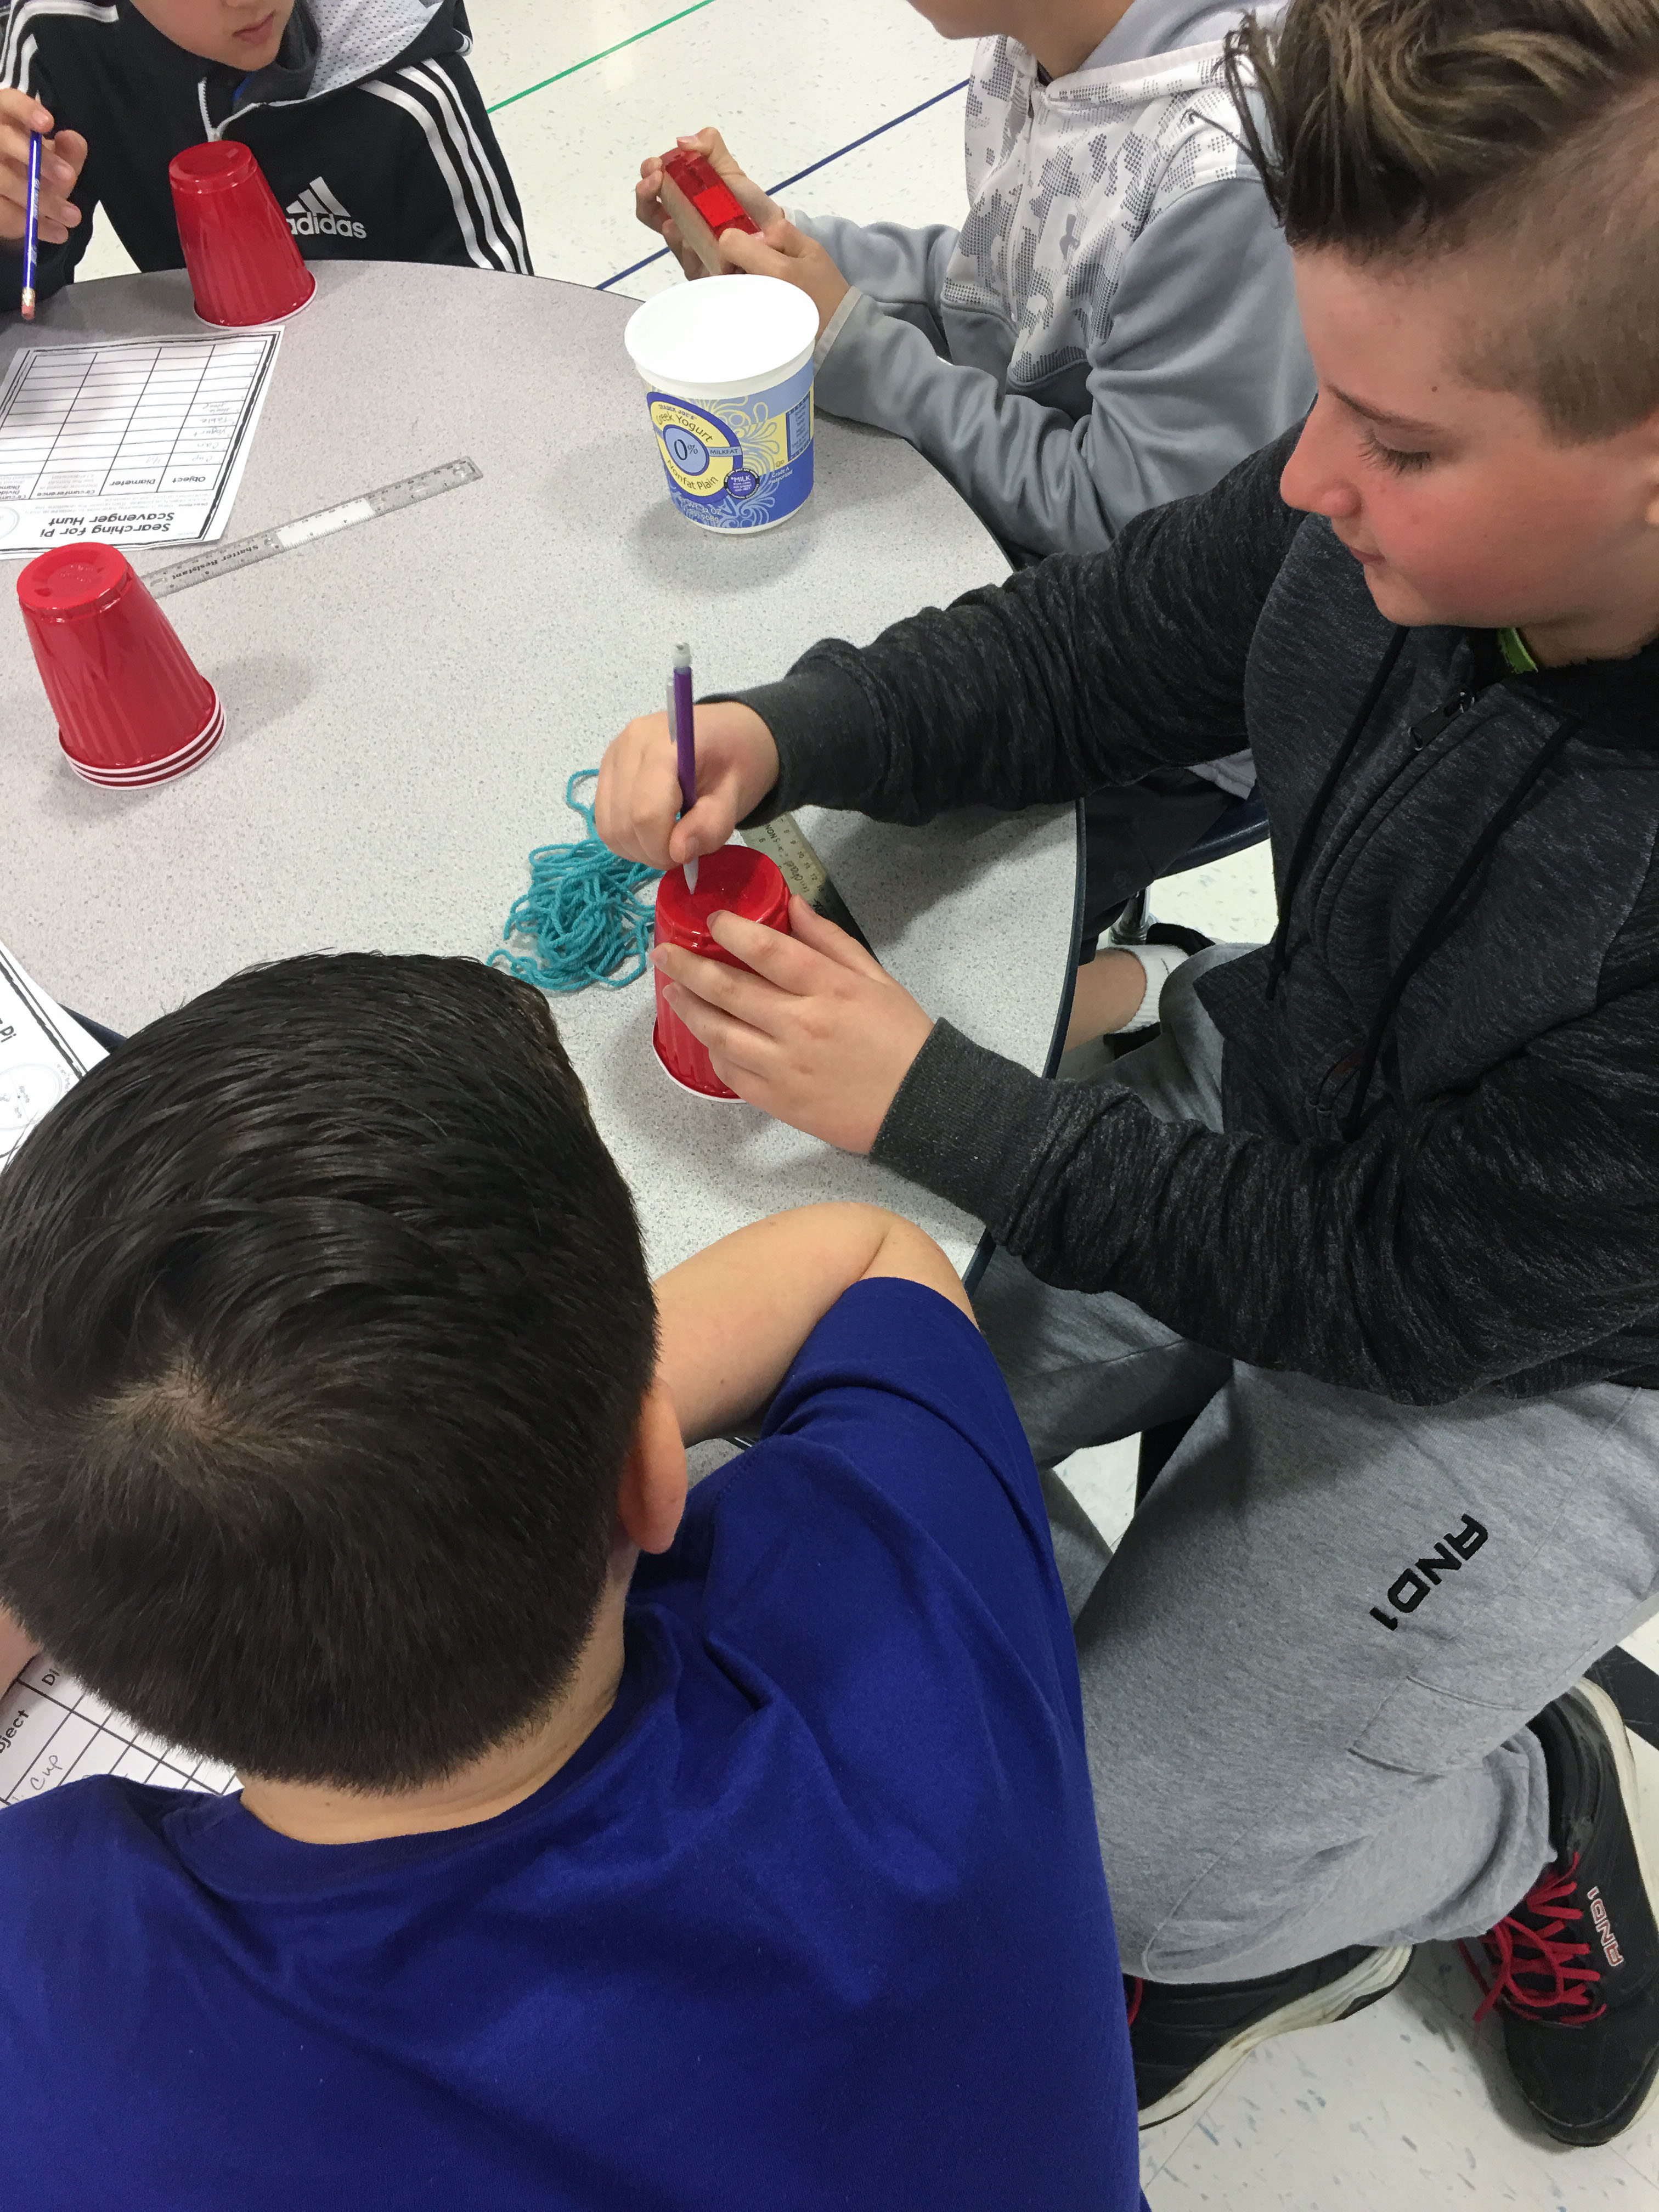
That was it!  We all had a blast – now go start planning for Pi Day!

Turn Your Phone into a Slideshow Remote

Welcome to my blog!  Recently, I have a few presentations on Breakout EDU and Creating your own blog.  The resources have been posted here.

One of the most frequent questions however was how I changed the slides while moving around the room.  I used my cell phone!  If anyone figures out how to do this on Smart Notebook – let me know because that would be awesome!

Here is how to turn your cell phone into a remote control for Google Slides:

  1.  Add the Chrome Extension from the Chrome Web Store: Google Slides Remote
  2. Open Google Slideshow you want to control
  3. In the upper right corner, you should see a “Present with remote” button.  Click on that.
  4. Once your slideshow is running, the bottom bar will be different.  It will have SHOW ID at the bottom.  That is your 6 digit code!
  5. Open s.limhenry.xyz on another device and enter the code on the page.  Voila – you now have a cell phone or Ipad or tablet or any device that can be used as a remote for your slideshow.  It is a few steps, but after I did this a few times it really only took less than 30 seconds.

I have the limhenry website saved as a shortcut on my phone.  I believe I found that in the Play Store a few weeks ago.  But, it is no longer there.  That’s okay!  As long as you have that link you are good to go!

Happy Remoting!

The Ratio of Skittles


I am so blessed that we teach ratios in the Fall!  Halloween and the day after Halloween are a cheap and easy way to obtain candy to turn into ratios and proportions.   Towards the end of our unit, students were given an assignment in Google classroom.  The only trees harmed in the activity were the ones that were under the skittles to use as “plates”.

Skittles Lesson:  Students will write the colors as a proportional relationship and solve proportions using multiple strategies including cross products.

Skittles Lab Activity – Original

Copy of Skittles Lab – Adapted

As our “Fun Friday,” students logged into Google Classroom and I previewed the activity.  It includes creating a pie chart.  You need to go to “insert”, “Chart” and then “pie.”  The students would not see the “Create in Sheets” in the lower lefthand corner, so I showed them a few times on the Smartboard.

  1.  Students were asked and able to take the ratio of different color skittles and put it in a chart.  Instead of a coordinate graph, this lesson uses a pie graph which we see a lot of proportions use as well.
  2. Students then got to eat their math which is always fun!
  3. Students turned in the lab activity in Google Classroom.  Due to time constraints, I did not do the Google Drawing section.